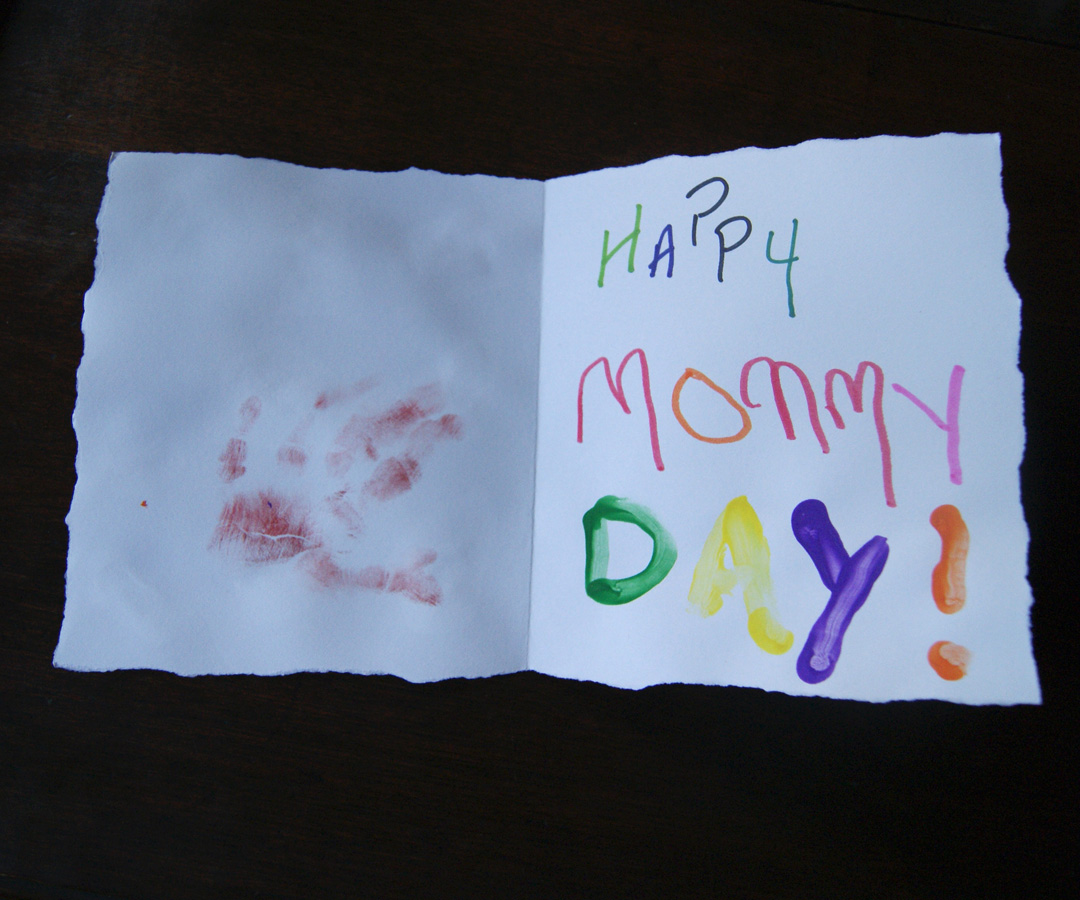
This year I wanted to make something handmade for Little Bug to give to his daddy for Father’s Day. The Mister made me an adorable Mother’s Day card from Bug which you can see below. He drew a bunch of little pictures of things that Bug and I do and then pasted them to a handmade card. He claims Bug helped with the pasting. :)
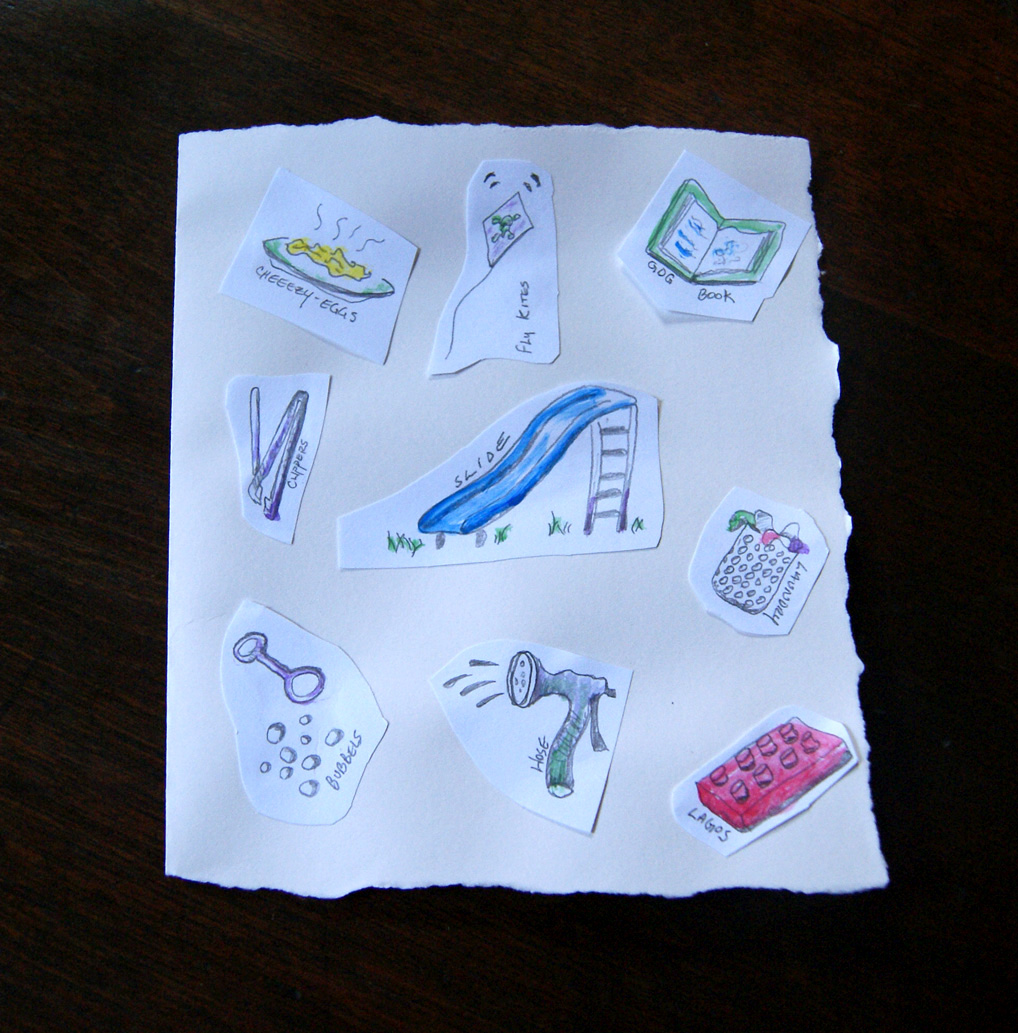 Cute huh? (he purposely misspelled Legos because Little Bug pronounces it “Lagos.”)
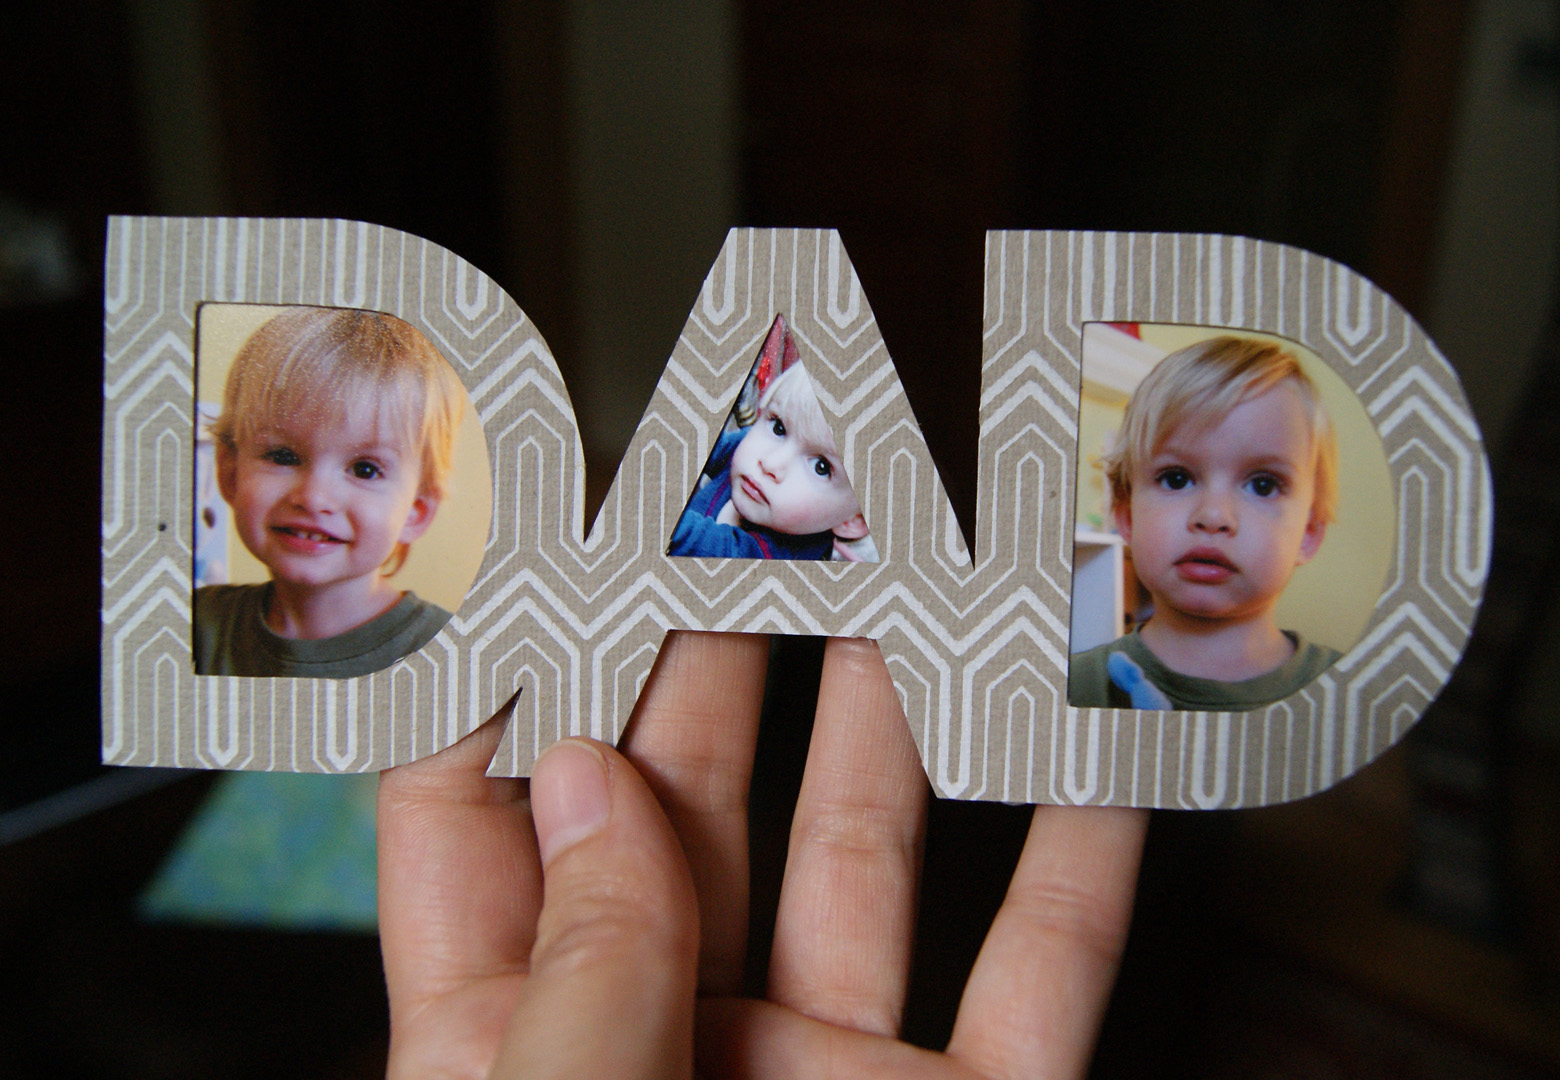
After a little searching online I found two crafts for the boy to “make” for his daddy. First up is a paper photo frame that spells out DAD.
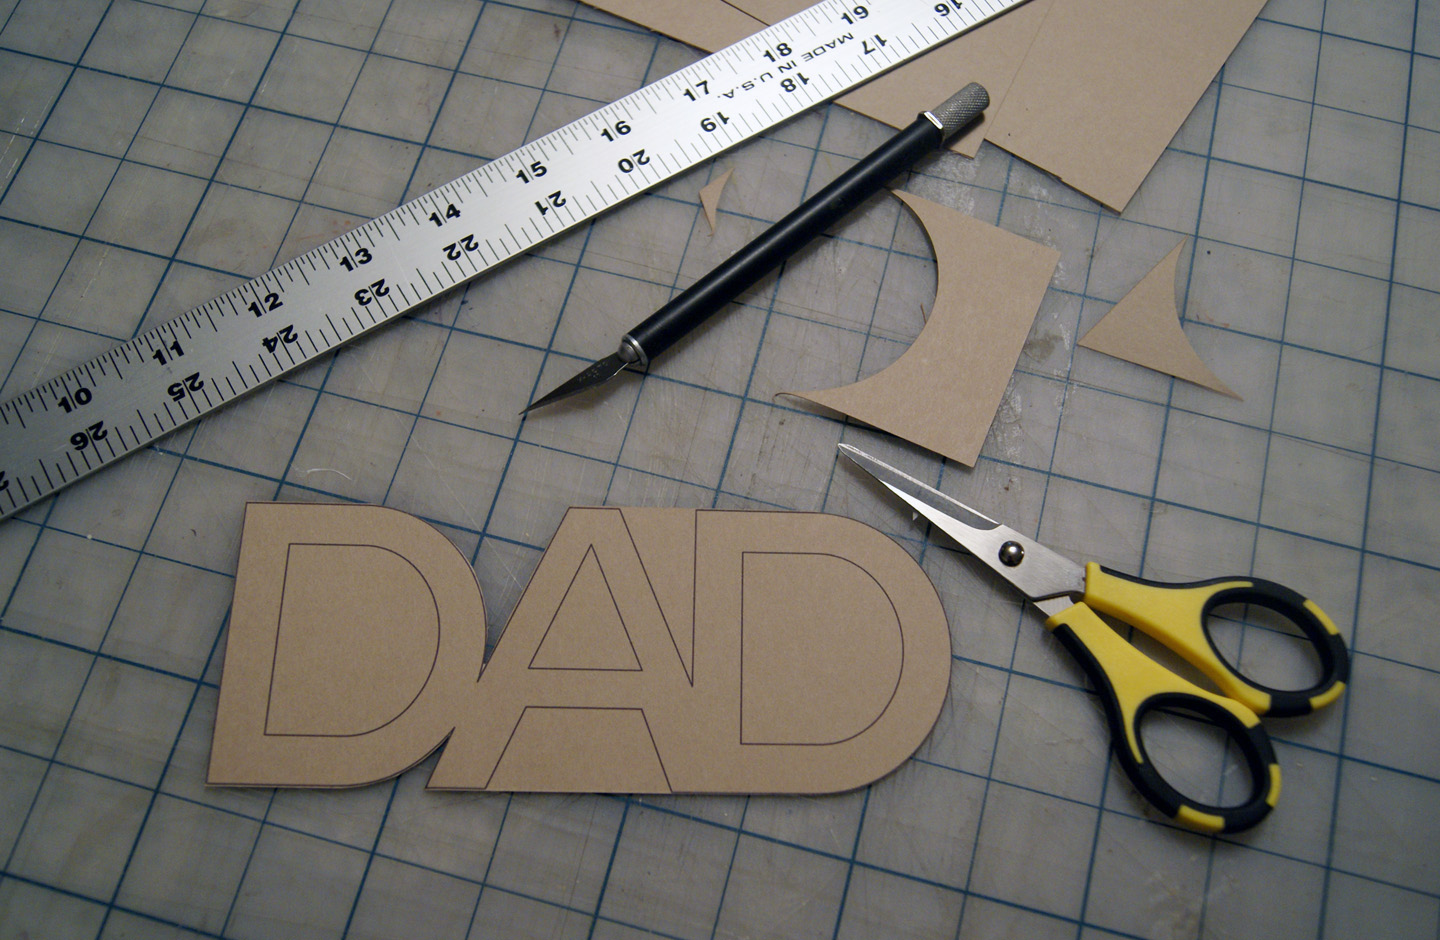
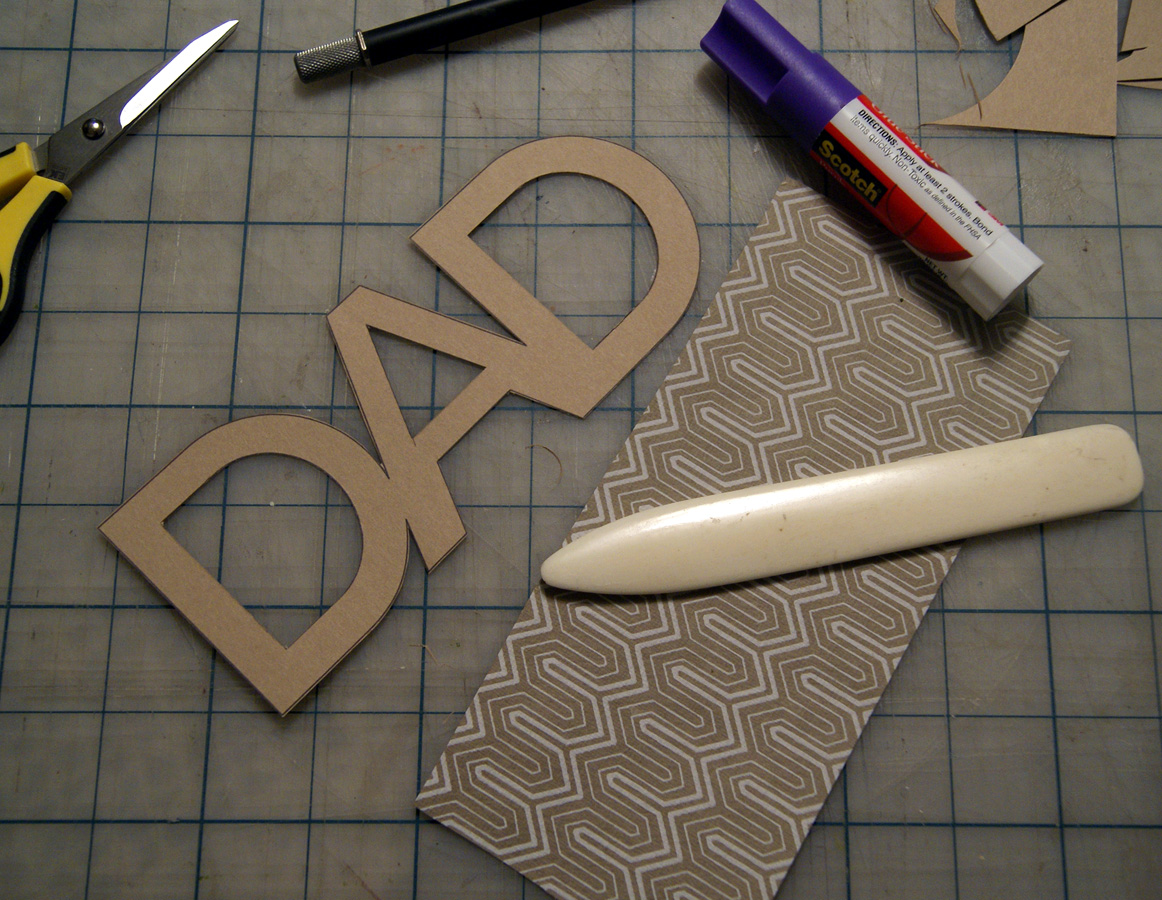
I like this idea because it’s something the Mister can put on his desk at work and it is pretty simple to make! I found the idea and instructions on Martha Stewart’s site, here. She’s got a template that you can download and print out. I downloaded the template and printed it on brown cardstock paper. Then cut out the word using my super sharp paper scissors and my exacto knife.
I wanted to jazz mine up a little bit so I grabbed some of my patterned craft paper and glued that to my cutout card stock. I purposely chose something dad-ish and fairly neutral.
Next I printed out some small photos on photo paper. Wasn’t sure which ones I would want to use, so I printed more than three. Keep in mind the photo window for the letter A is quite small, you’ll need a really small image for that one.
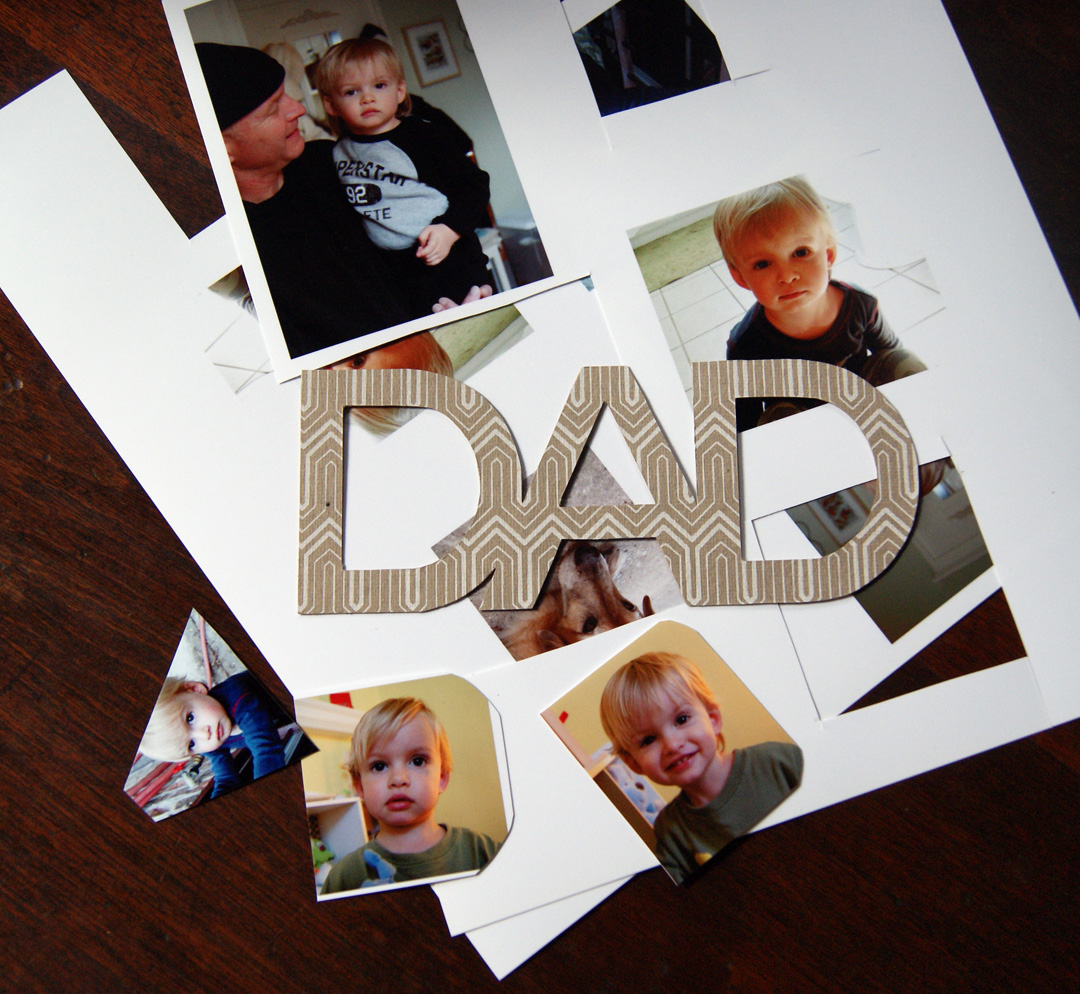
After I cut my photos to size I carefully glued them to the back of my frame using a small amount of Elmer’s glue. (You’ll probably want to let the frame lie flat and dry before the next step.)
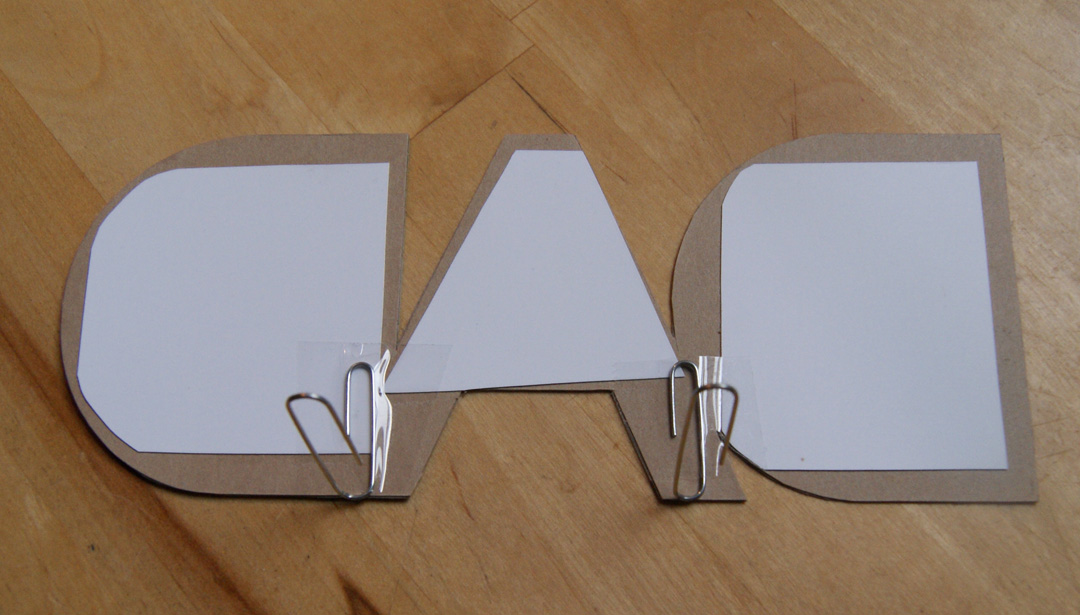
Next, following Martha’s instruction, I took two paper clips, separated them where they grab paper and bent them at a 90 angle. I attached them to the back of the frame using heavy duty packing tape. Not the prettiest back but oh well! If you have the time, you could cover the back with another DAD cutout to hide the messiness. Once your clips are attached you can adjust them so the frame stands at your desired angle. I bent mine back a bit so the frame was a little tilted and not completely upright.
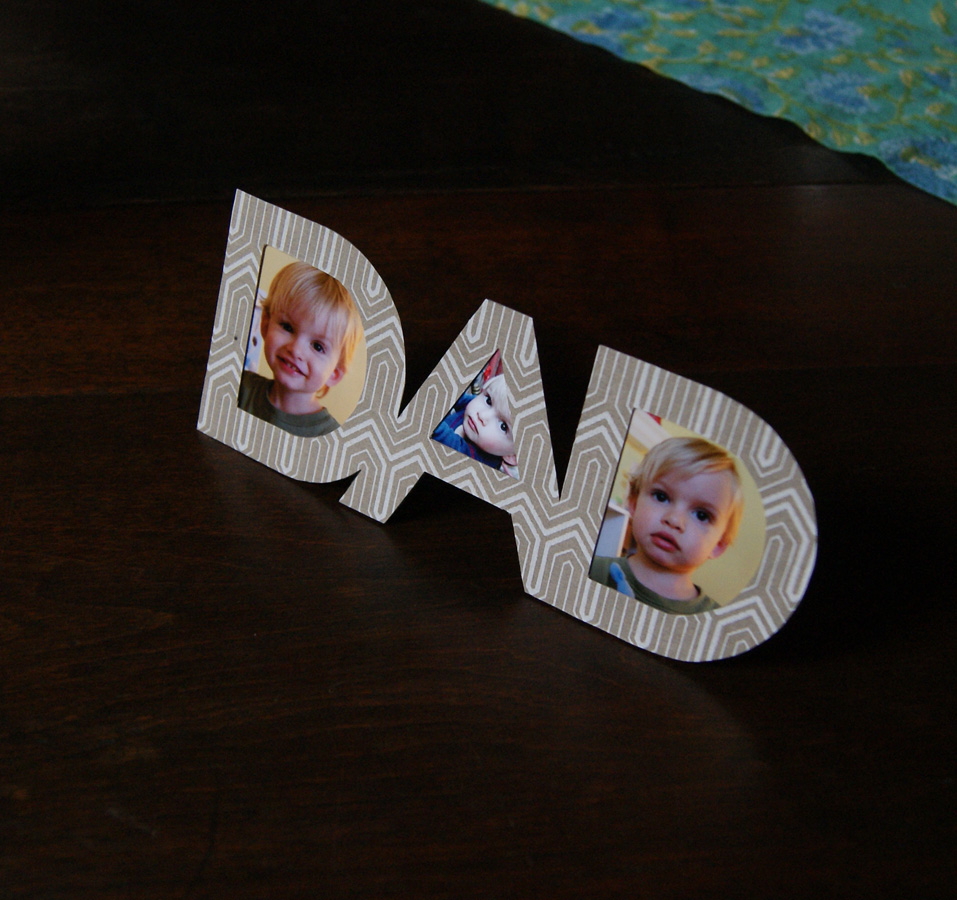
And that’s it!
The second craft “we” did I found on Pinterest, here.
It seemed simple enough, just put your baby’s foot print on a piece of paper and write or print out the text. Not quite as simple as I imagined. Getting the paint on the foot and then on the paper and not all over the place can be a bit challenging. Especially if a certain someone freaks out everytime you try to put some paint on his foot! I applied finger paint to the bottom of Little Bug’s foot with a paint brush, while he sat in his highchair eating cheddar bunnies. He did not care for this. After alot of whining and crying and protesting, I was able to get one foot print on my paper. I was going to stop there, but then I had a brilliant idea! I found a paper plate and put a thin coat of paint on the plate and then had Bug step on the plate and then on the paper. This worked much better and I was able to snatch him up and go directly to the tub to wash off his feet before he got paint on anything! Yay, success!
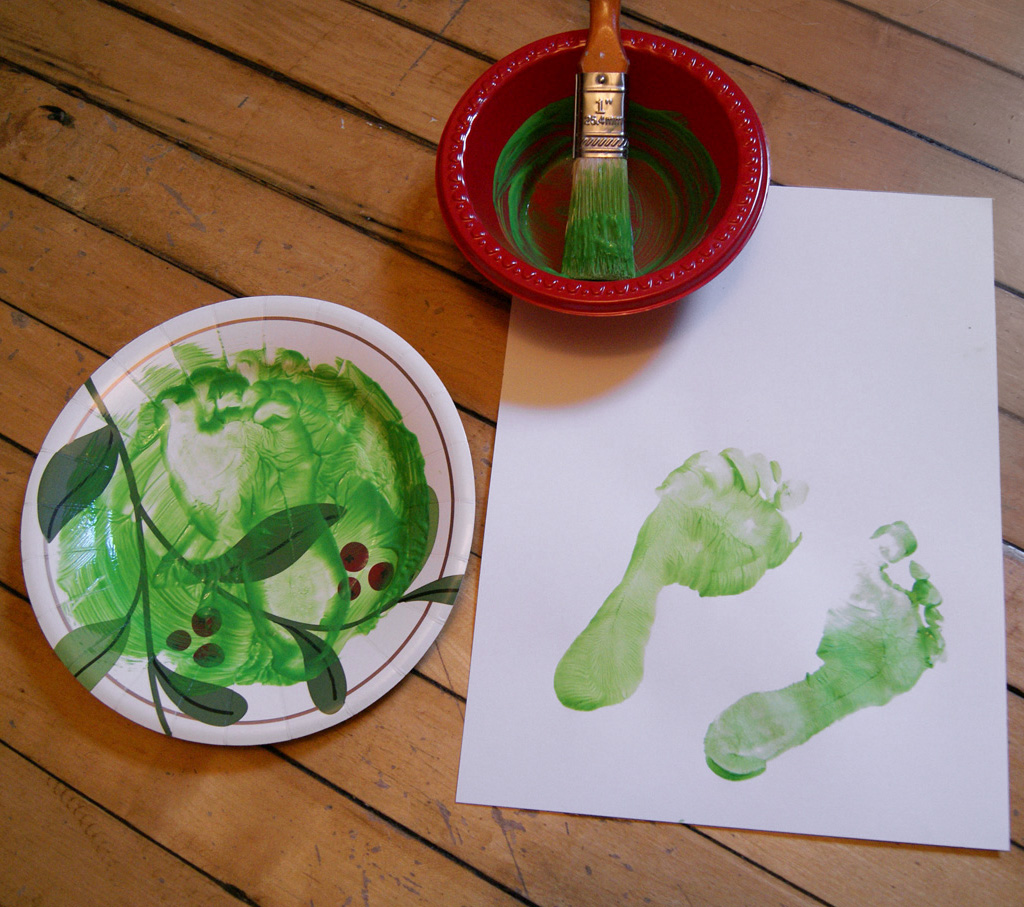 After I got the footprints I let my paper dry completely. Then I opened MS Word and typed my text and printed it on my paper. I used some nice medium weight drawing paper for this project. And since I knew I was going to have to feed it through my printer I was careful to use very little paint. If you use too much finger paint it can warp the paper and dry in thick clumps.
If you want to get more fancy you could add a nice piece of decorative paper or colored construction paper to the back. And then pierce the paper at the top and add some string or twine so it can be hung on the wall. There are also several other footprint poems that you could use instead of this one. Do a quick search online and you’ll be sure to find some.
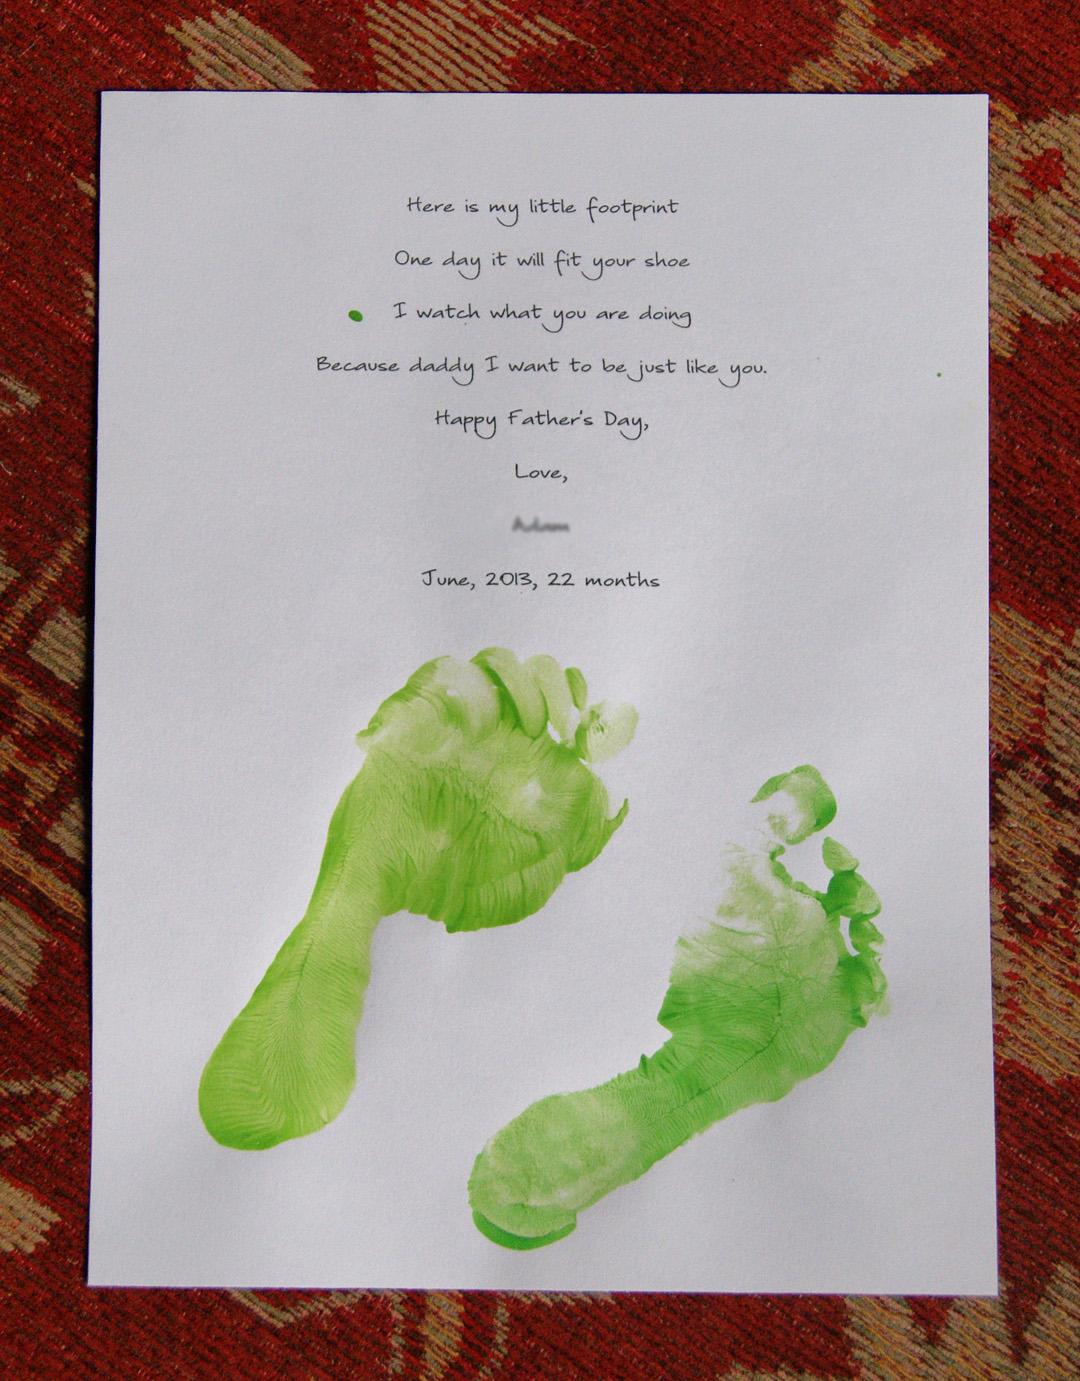
The Mister has a particular fondness for Little Bug’s cute feet and tiny toes so I think he is really going to like this.
Happy crafting!


Very sweet. Little Bug’s daddy is going to love both.