Notes from the Tulip House

Old Book Page Garland

A mom and tot Valentine project
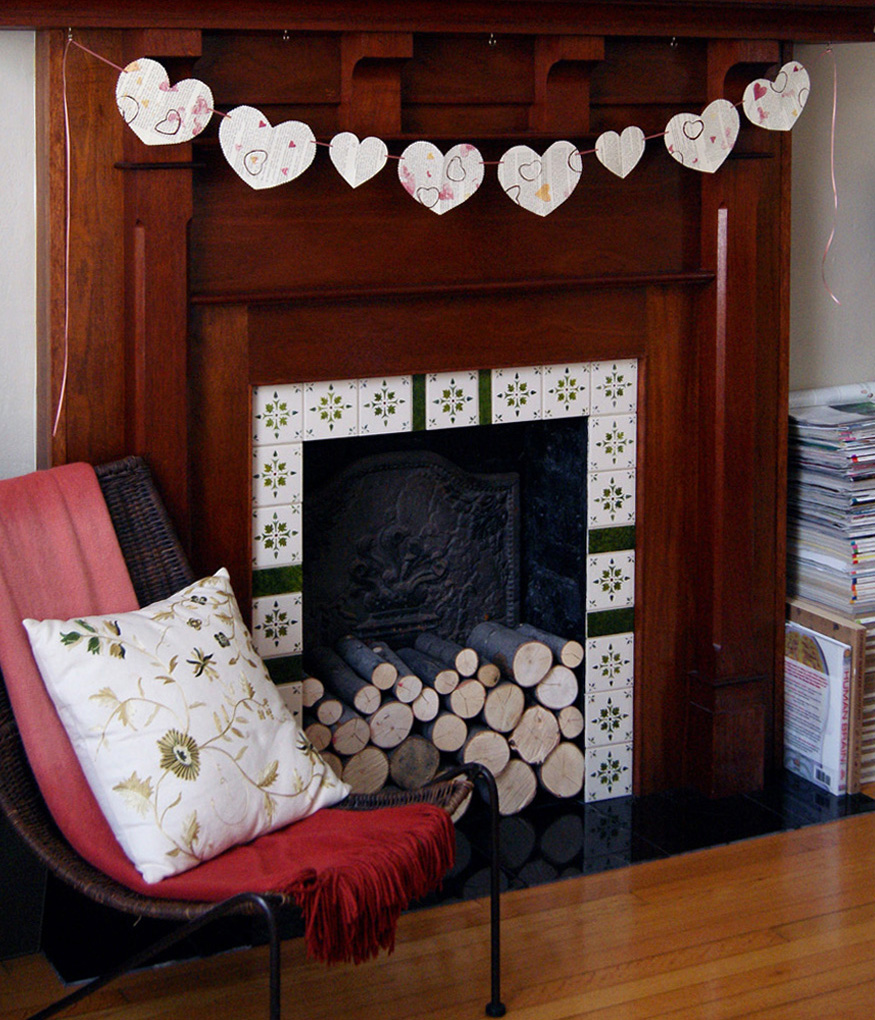
 

old book page valentine garland

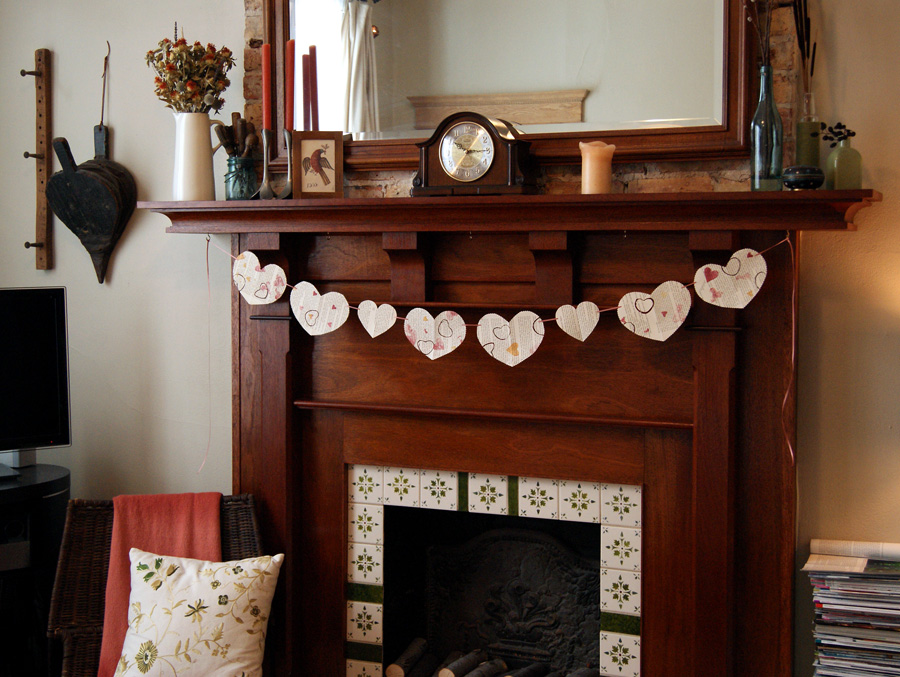
Last year I bought vintage Valentines for Little Bug to give to his cousins, grandma, and a couple of friends.  This year I wanted to do some handmade Valentines so I went searching for a toddler friendly Valentine project.  I knew I wanted to do something with potato stamps.  In my searching I came across a really cute book page garland idea and a stamping project using a toilet paper roll.  I decided to combine the two homemade stamps in a garland project.  I happened to have an old hardcover copy of Charles Dickens stories that I removed some of the pages from for a wedding project, (see my blog post here .)  I hate to waste a book so was glad to have another project that would utilize more of the pages.
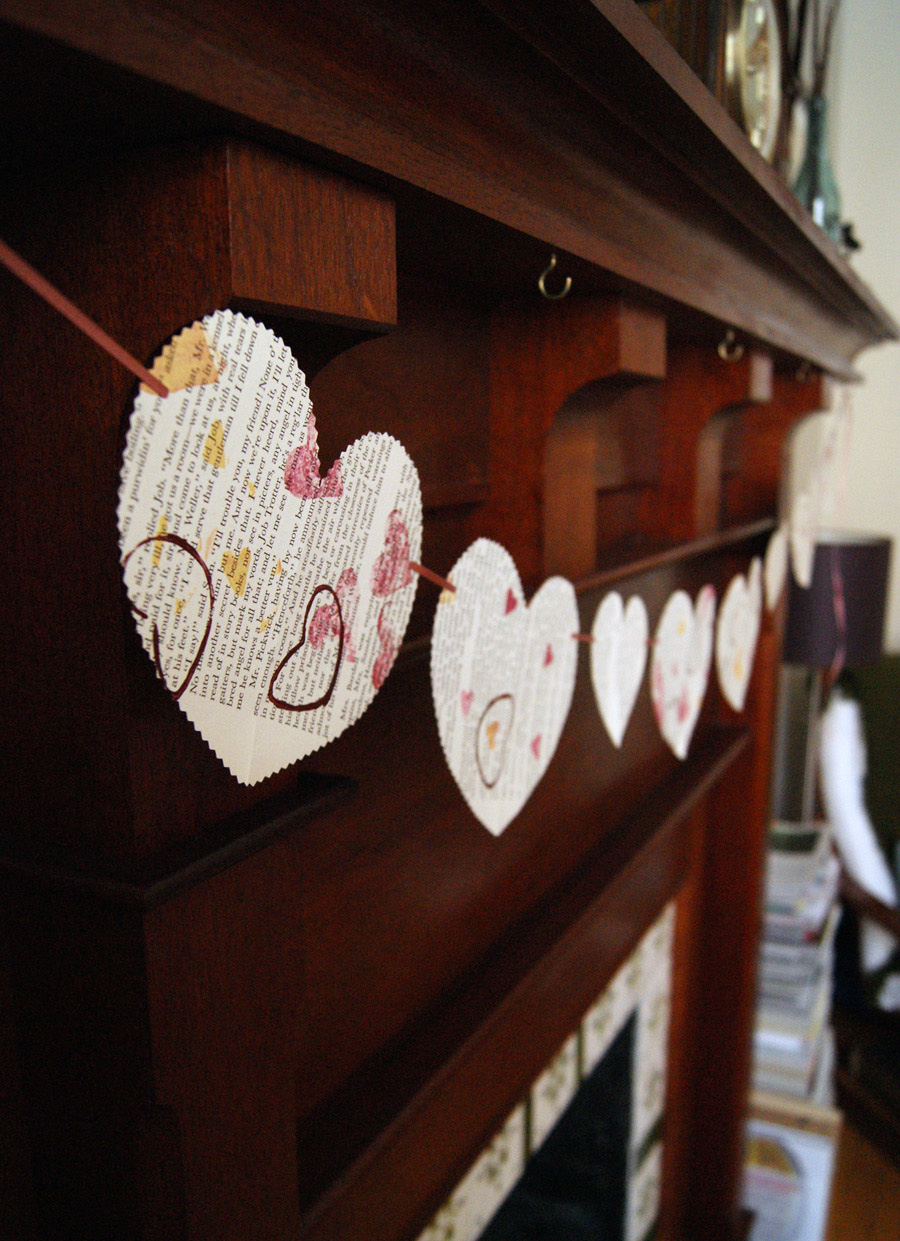
book page garland

The first step was to make our stamps.
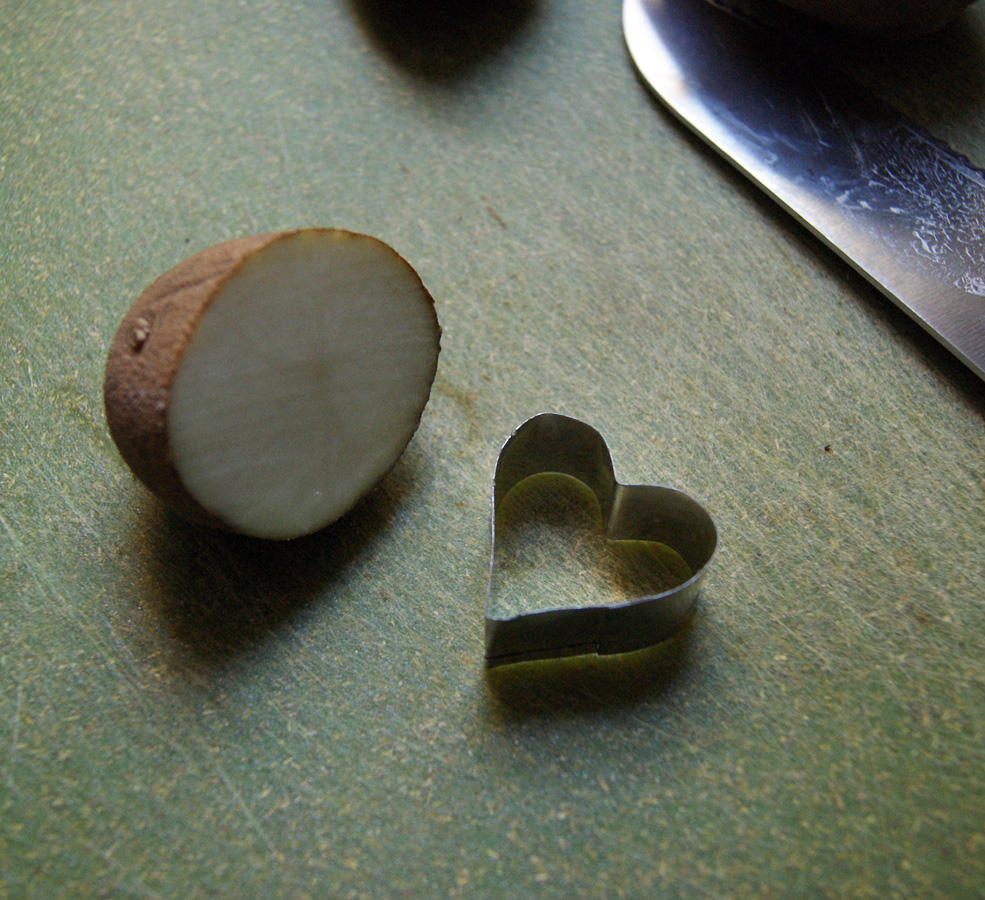
making a potato stamp

Potato stamps are super simple, all you really need is a potato, a knife, and a stamping pad or some ink.  I made two different potato hearts, one using a cookie cutter and one freehand with a knife.
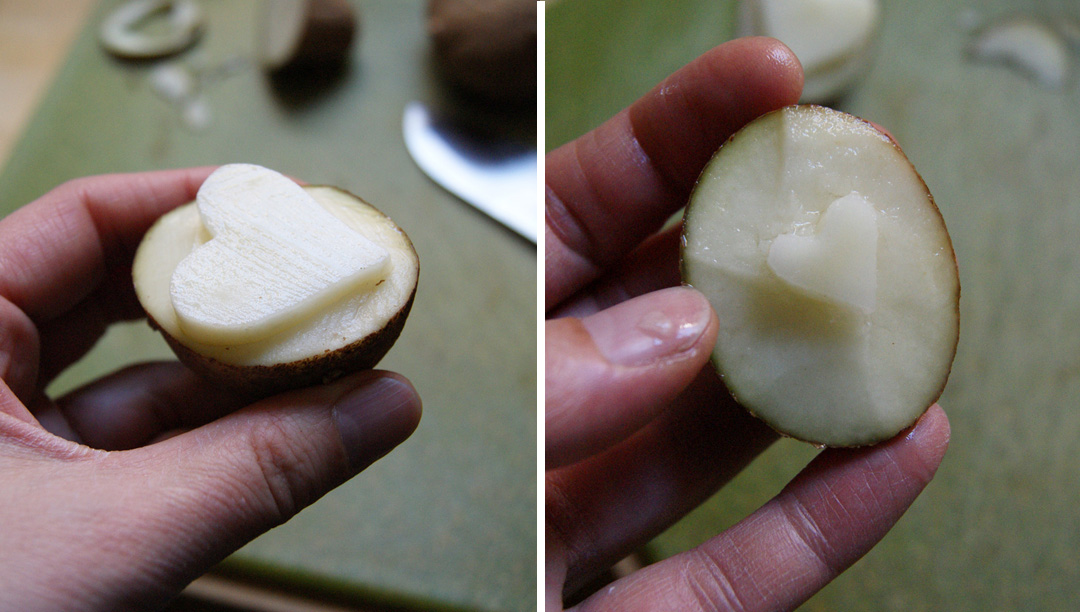
potato stamps

Toilet paper roll stamps are even easier to make.  Just take an empty cardboard roll and bend it to form a heart!
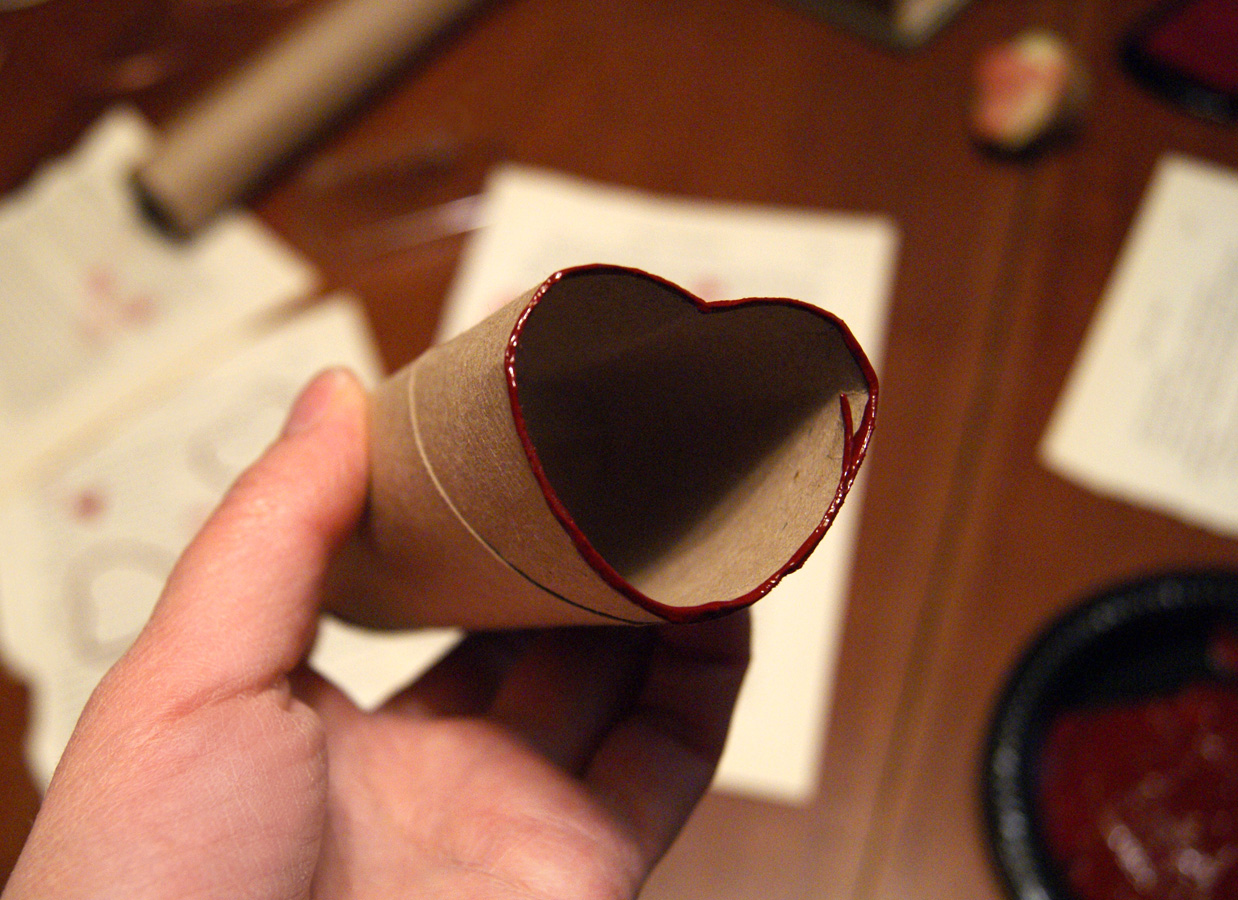
cardboard toilet roll paper heart

For the toilet paper stamps we used regular acrylic craft paint as our “ink” and for the potato stamps we used a rubber-stamping-type ink pad.  The potatoes are absorbent so they work really well with a stamping pad, (you could also use india ink,) the toilet paper roll on the other hand does not work well with a stamping pad.
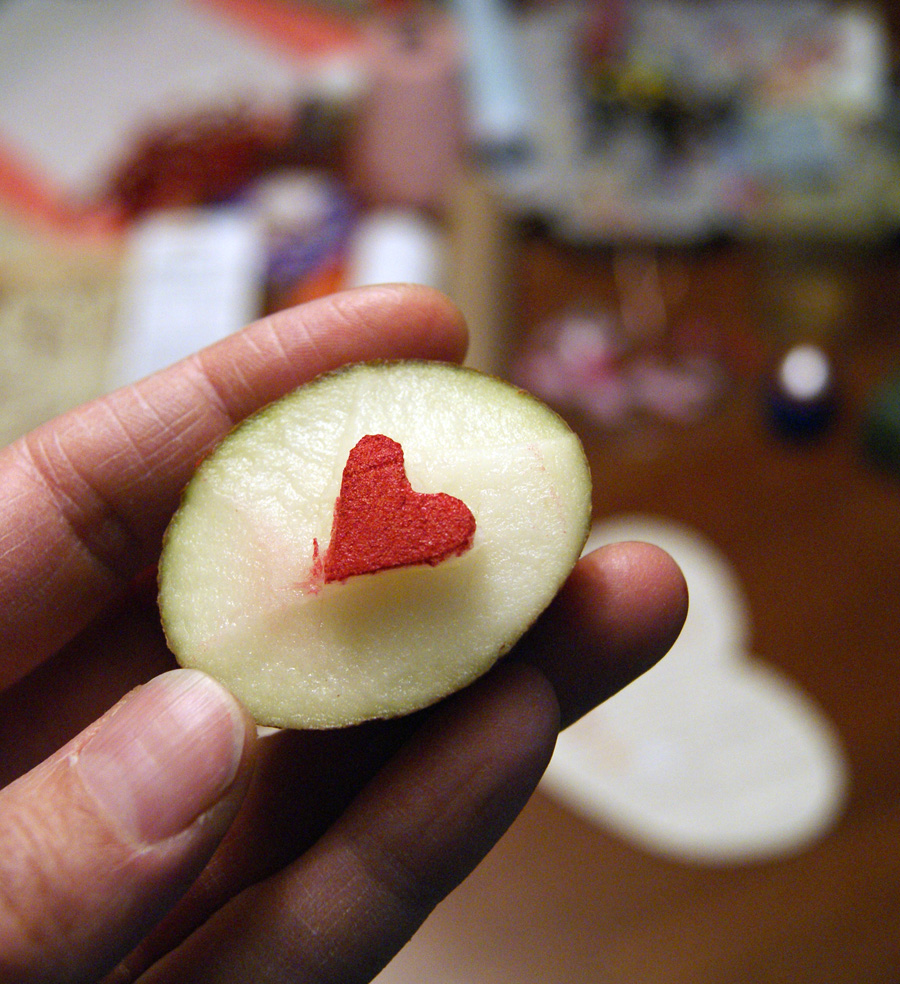
potato stamp heart

Once the stamps were made I removed several pages from my book, set out the inks and let Bug go to town.
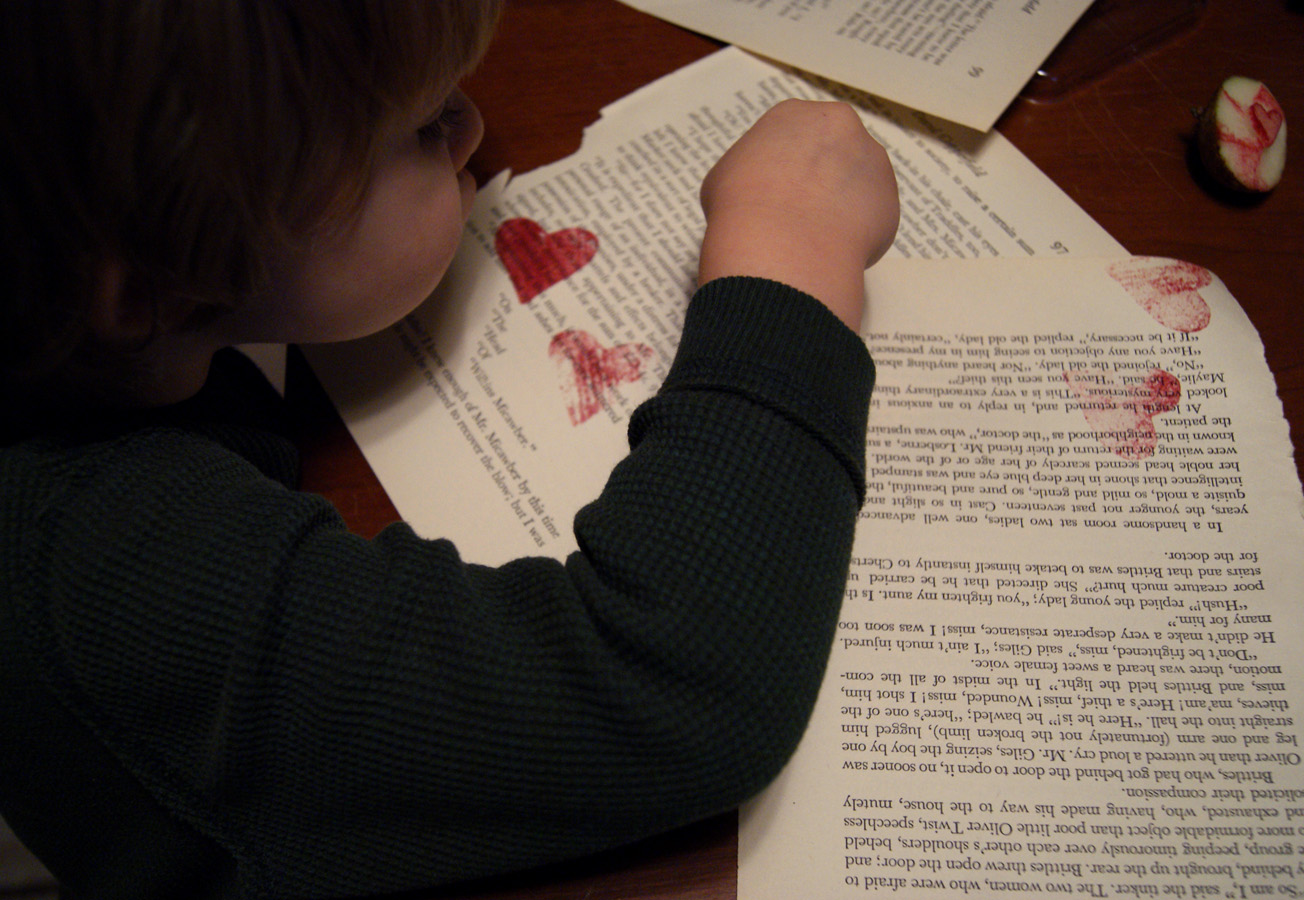
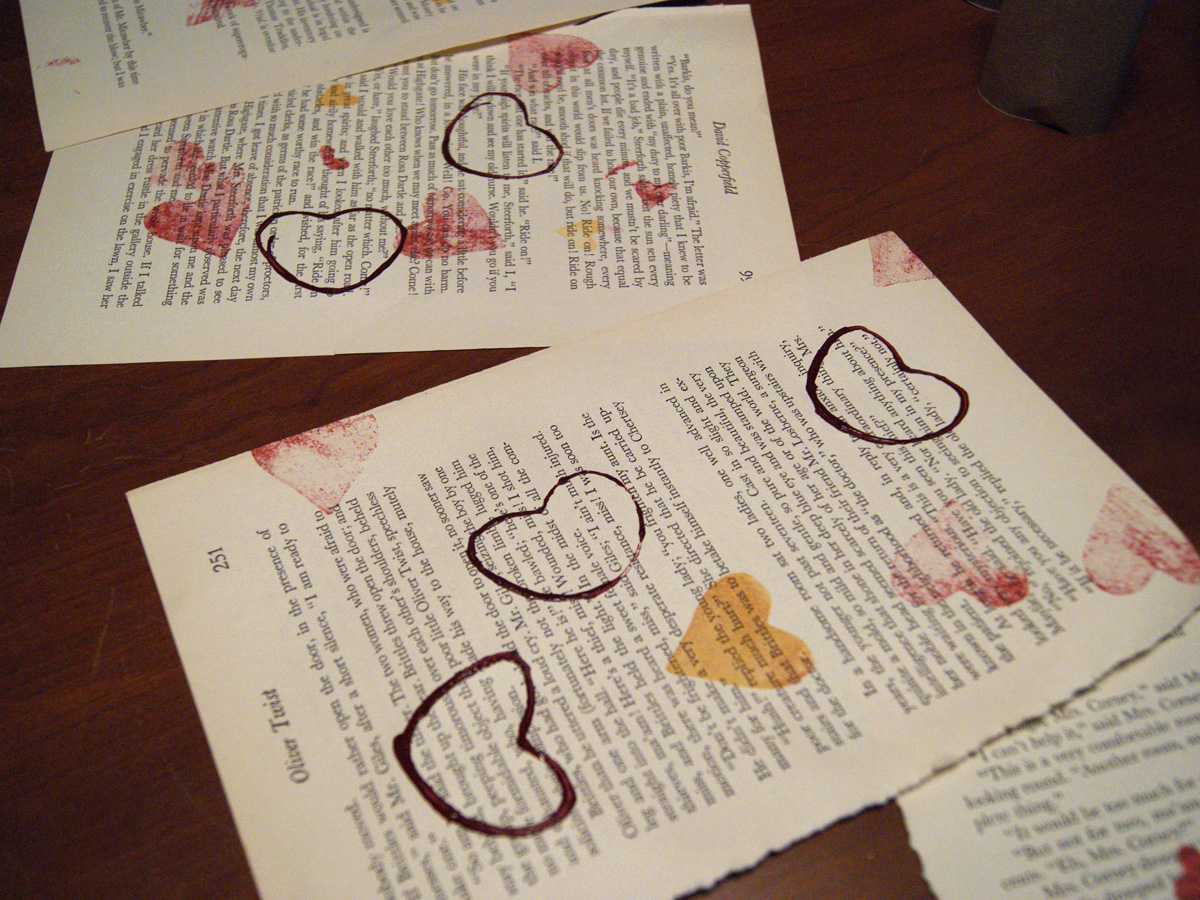
stamping with potatoes stamping book pages

We let the pages dry for a bit and then I cut them all into heart shapes.  I cut them with regular paper scissors and then once I had a heart I went over the edges with some fancy pattern scissors.  I then used a hole punch to put holes in each heart and strung them on some thin satin ribbon.
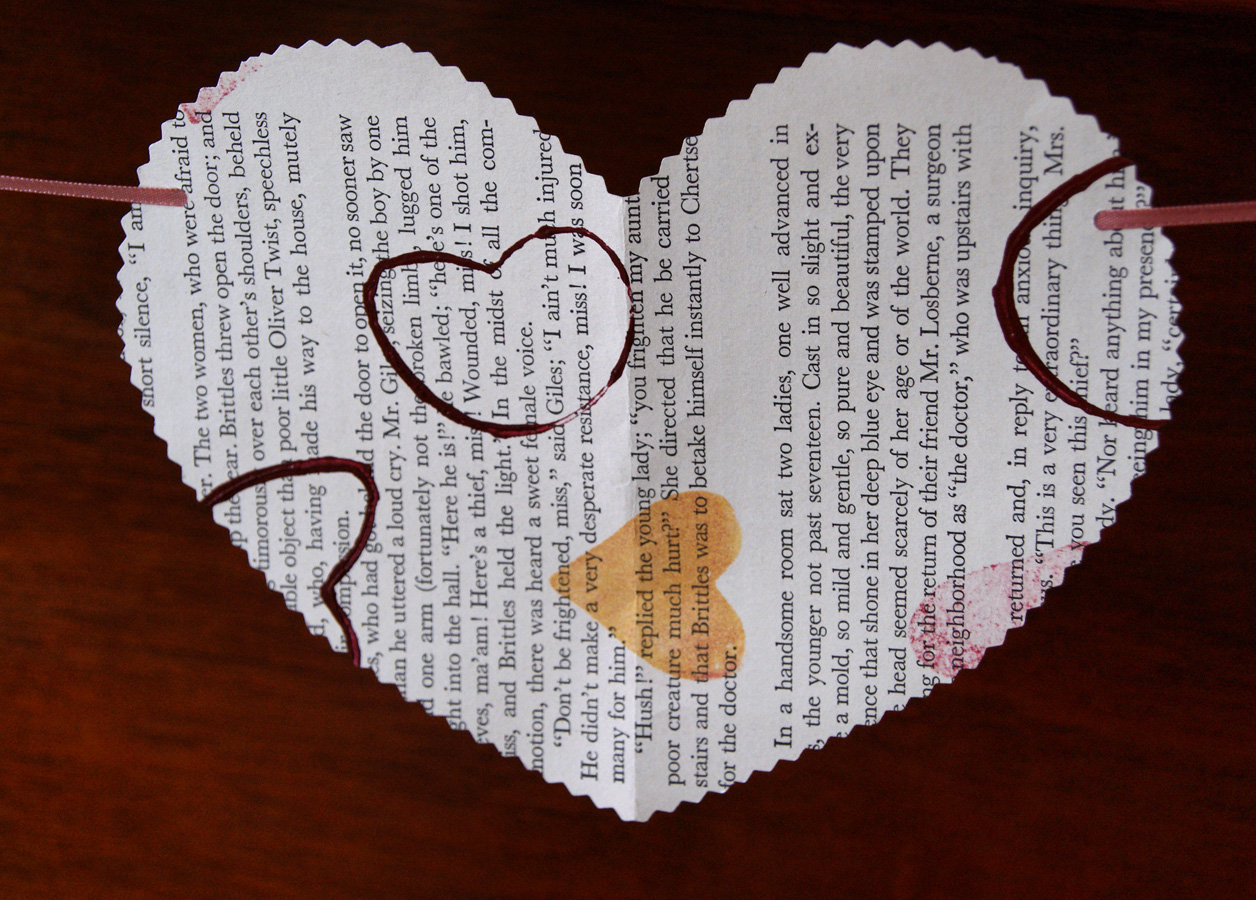
stamped book page garland close up old book page valentine garland

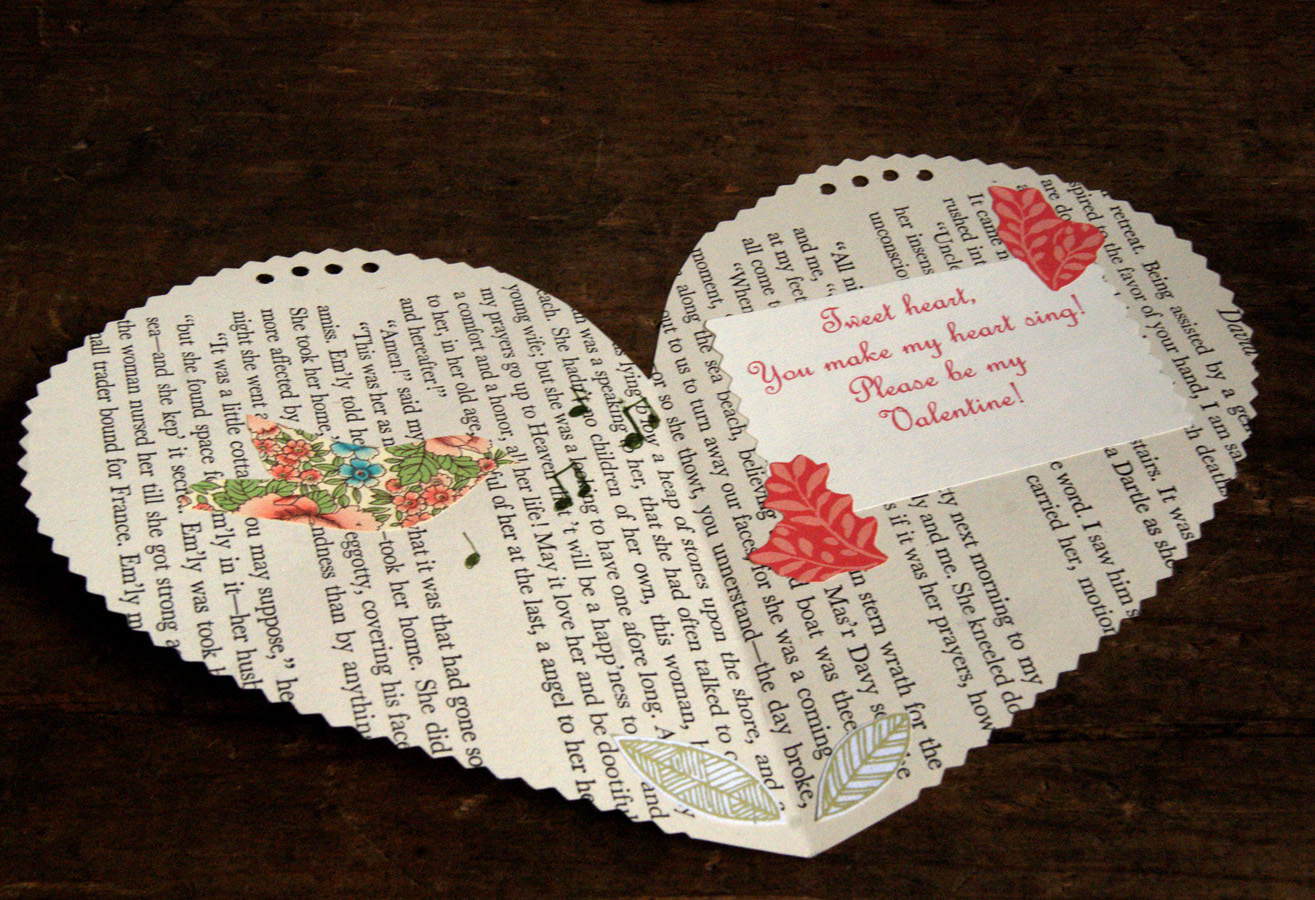
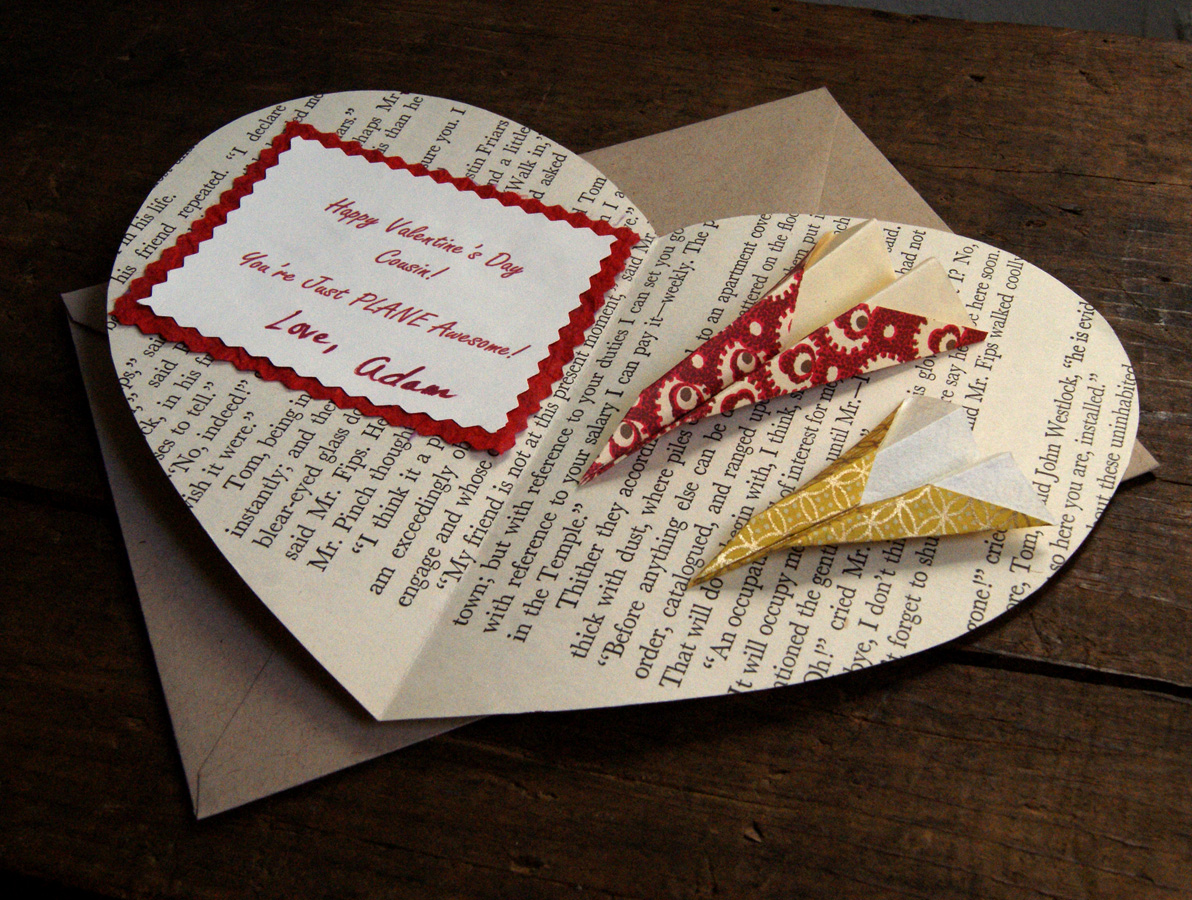
Six big hearts and two small spacers was enough to make garland for our mantle.   I had Bug stamp more pages and we used those to create individual valentines to send to family and friends.  I sent most of them out before taking photos of them but here’s a couple.  (Bug stamped the outside of the hearts with the potatoes and TP roll, and I did the inside.)

stamped book page valentine

Bug’s stamping


book page valentine for a girl

Girl Valentine


boy book page valentine

Boy Valentine

(The little planes are removable, I attached them with some Elmer’s sticky tack so they could be removed by the recipient.)

Here’s a list of materials you will need to do the garland project;

  • Book Pages
  • Potato (one potato cut in half will make two stamps)
  • Cookie Cutter (optional)
  • Empty Toilet Paper Roll
  • Stamp Ink Pad (or India Ink)
  • Paint
  • Knife or Xacto
  • Scissors
  • Decorative Scissors (optional)
  • Hole Punch
  • Ribbon, Twine, or Yarn

For the Valentines you’ll need all of the above, plus some decorative paper or ephemera, glue, and envelopes.  You can hand write your message or if you’re like me and you don’t trust your handwriting, you can use your computer to type the message, print it, cut it out, and glue it in.

Happy Crafting!


Will you be mine?

Or rather, will these be yours?

Silver Modern Branch Post Earrings

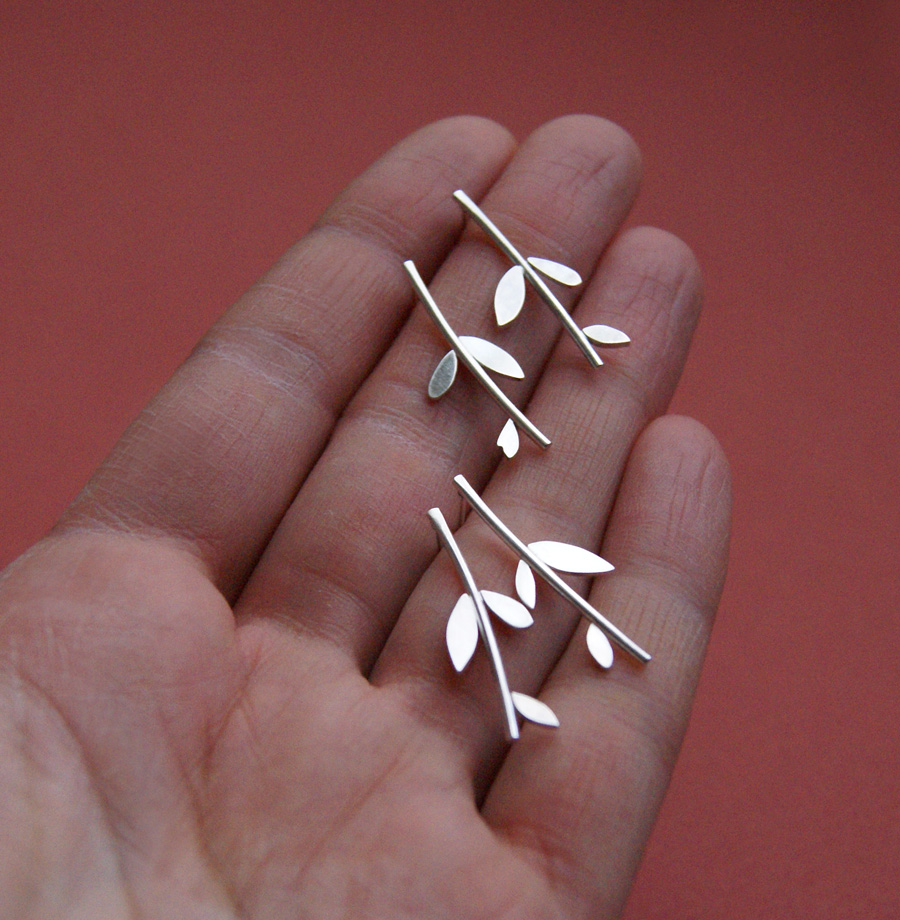
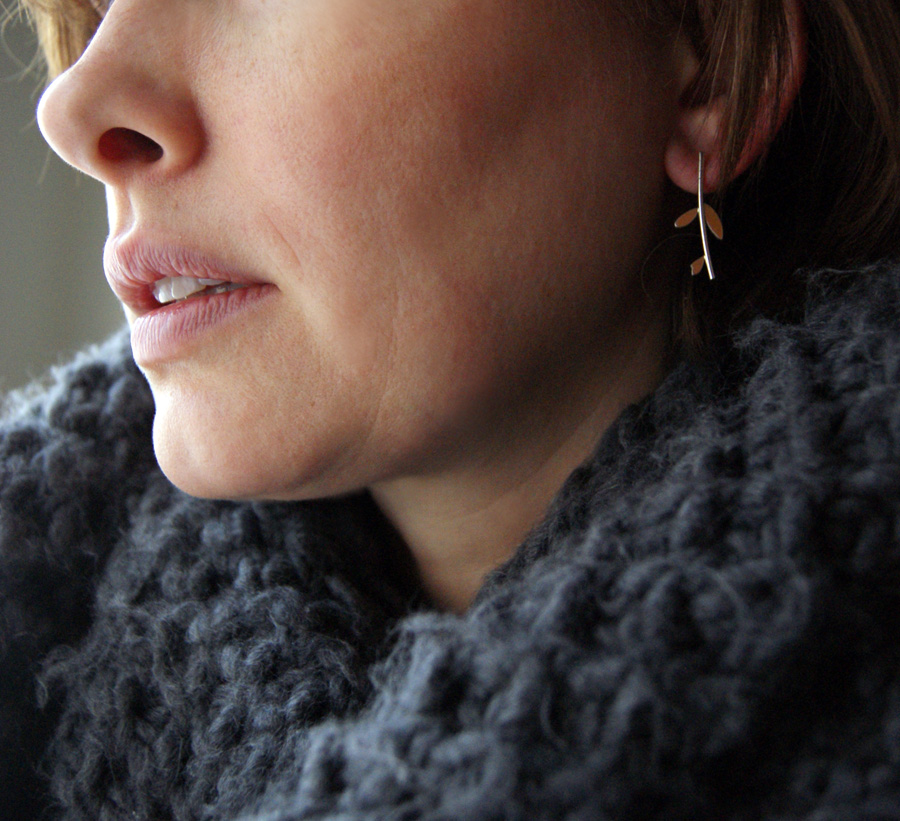
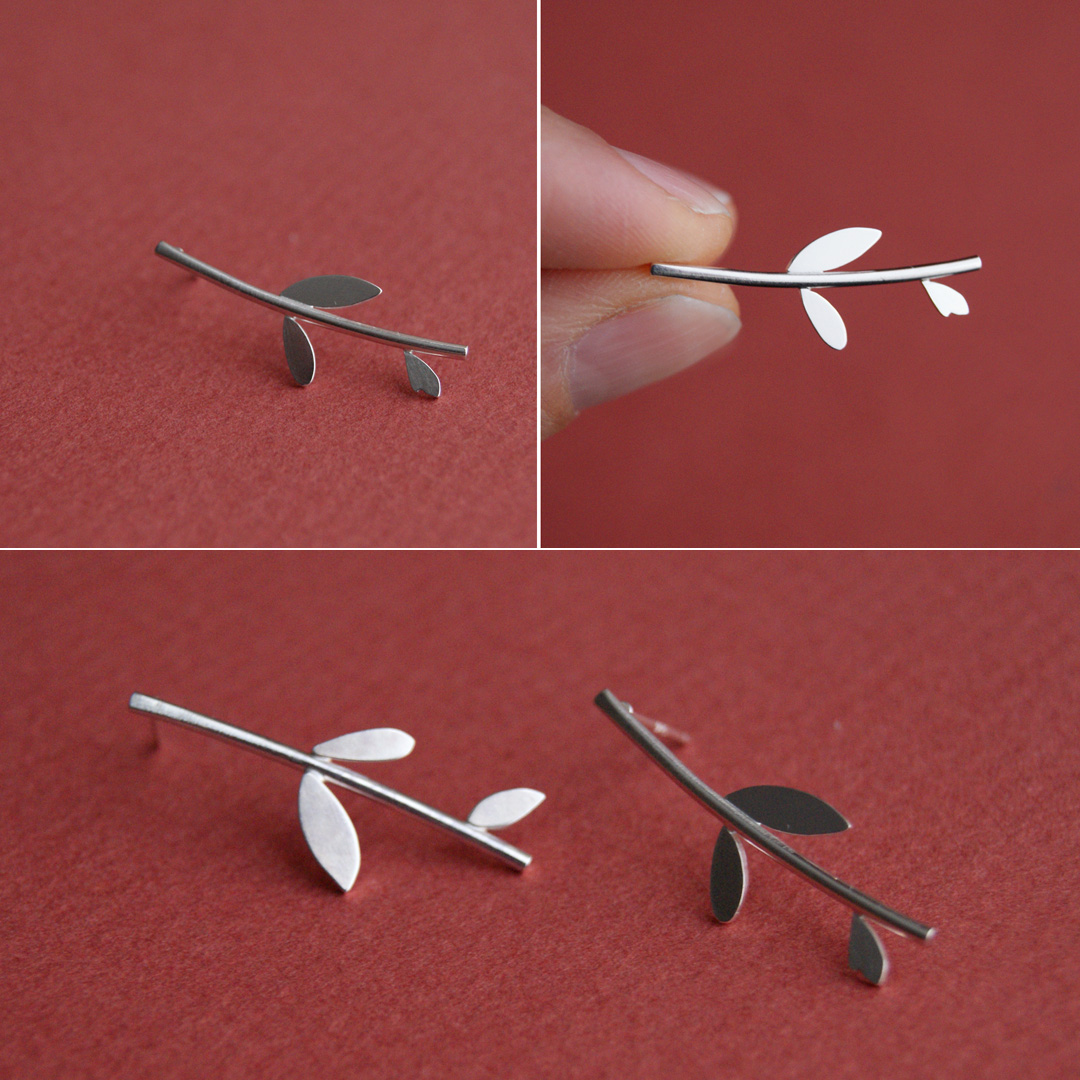
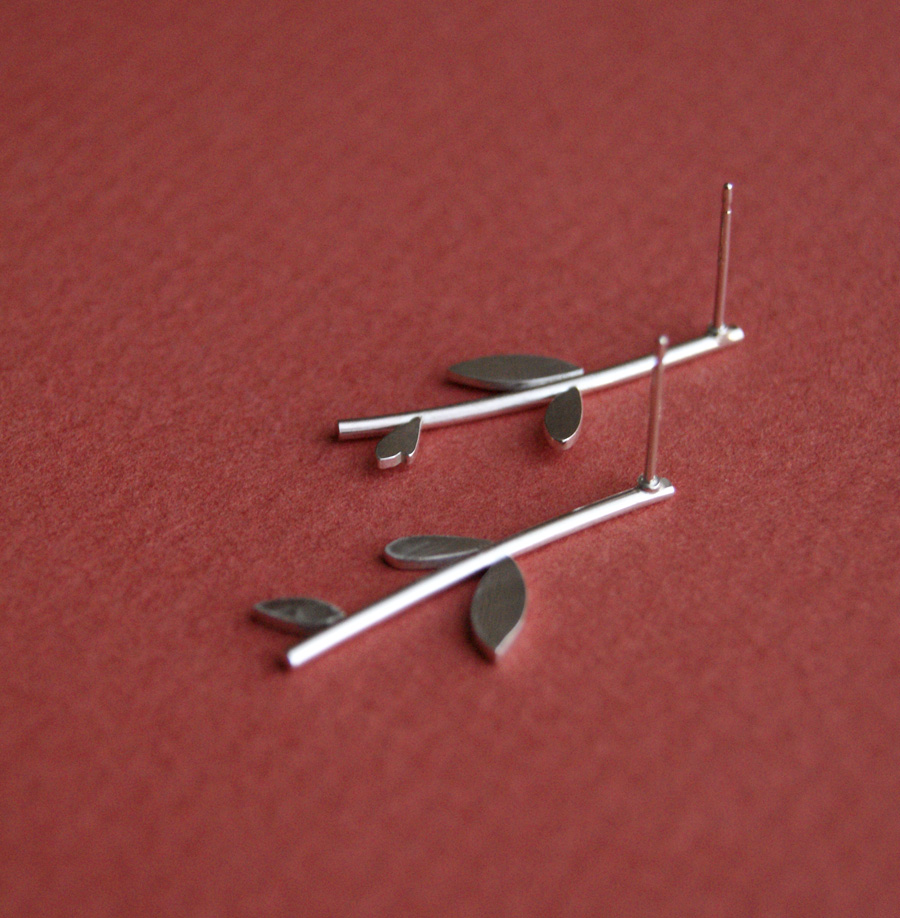
I just completed these two pairs of Modern Branch post earrings.  Aren’t they sweet?  I’ve decided to list one pair in my Etsy store and give away the second pair here on my blog.  Yay!

Entering the giveaway is super simple, just leave a comment ( click on the Responses link above,) telling me what your current favorite piece is in my Etsy store .  If you’d like to be entered a second time, just follow me on Facebook .  Already a follower?  Tell me in your comment and I’ll enter you again.  (btw, for anyone who is not a regular Facebook user, to follow me, go to the green facebook link above and click on the “Like,” button.

Silver Modern Branch Post Earrings Silver Modern Branch Post Earrings Silver Modern Branch Post Earrings Silver Modern Branch Post Earrings

These earrings are constructed out of Argentium and Sterling silver.  I’ve hand cut, filed, sanded, and soldered each little leaf onto the “stick.”  They measure just over an inch and have a shiny finish.

I’ll announce a winner here on my blog on Saturday, Feb 15th!  Good Luck!

P.S. I forgot to mention that this is a drawing, the winner will be pulled out of a hat, (or more likely a bowl,) by a neutral party, (probably Little Bug if he’s willing.)


Update, a winner was selected by Little Bug this afternoon.  I shot a video which I was going to post here on the blog, but it turns out I don’t know how to post a video on my blog!  :)  I did however post it on FB.  Congratulations to Zahadita!  I’ll be contacting you via email for a mailing address.  Thanks so much to everyone who took the time to enter and give me feedback.  I wish everyone could win!  I’ll be hosting another giveaway in early spring.


December Revisited

Although it’s come and gone, I’m still playing catch up.  Please bear with me while I finish up some posts from 2013!

Here’s a look at our December Holiday!

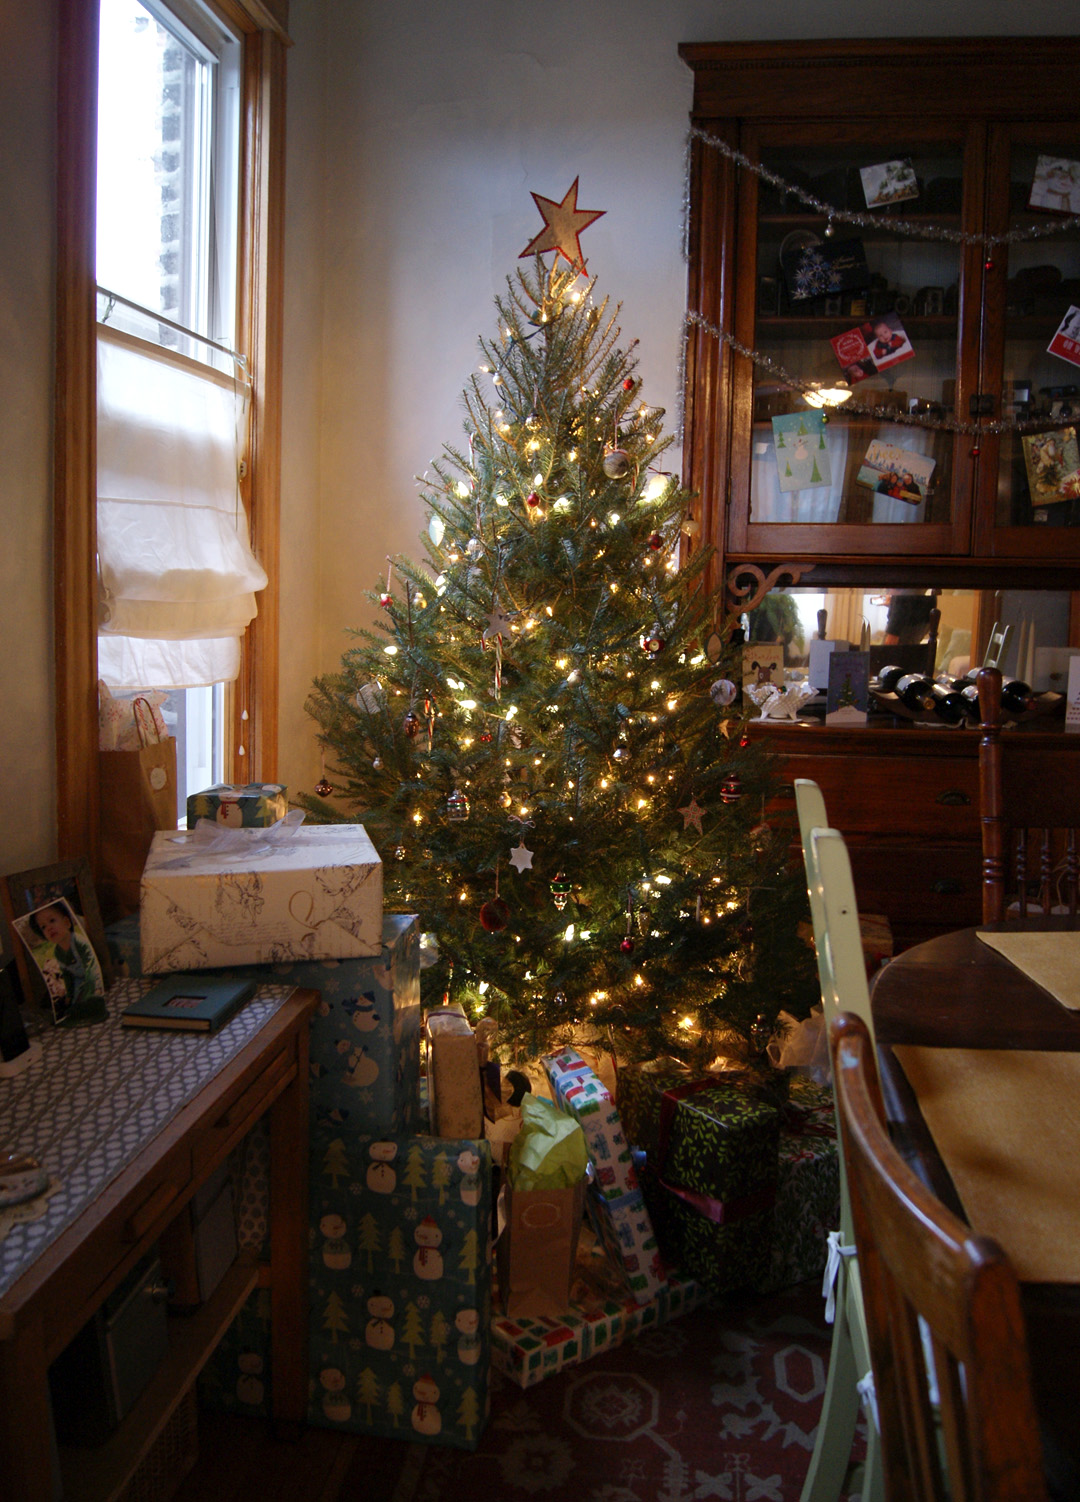
Our Tree

Our Tree

Our Tree, dressed

Our Tree, dressed

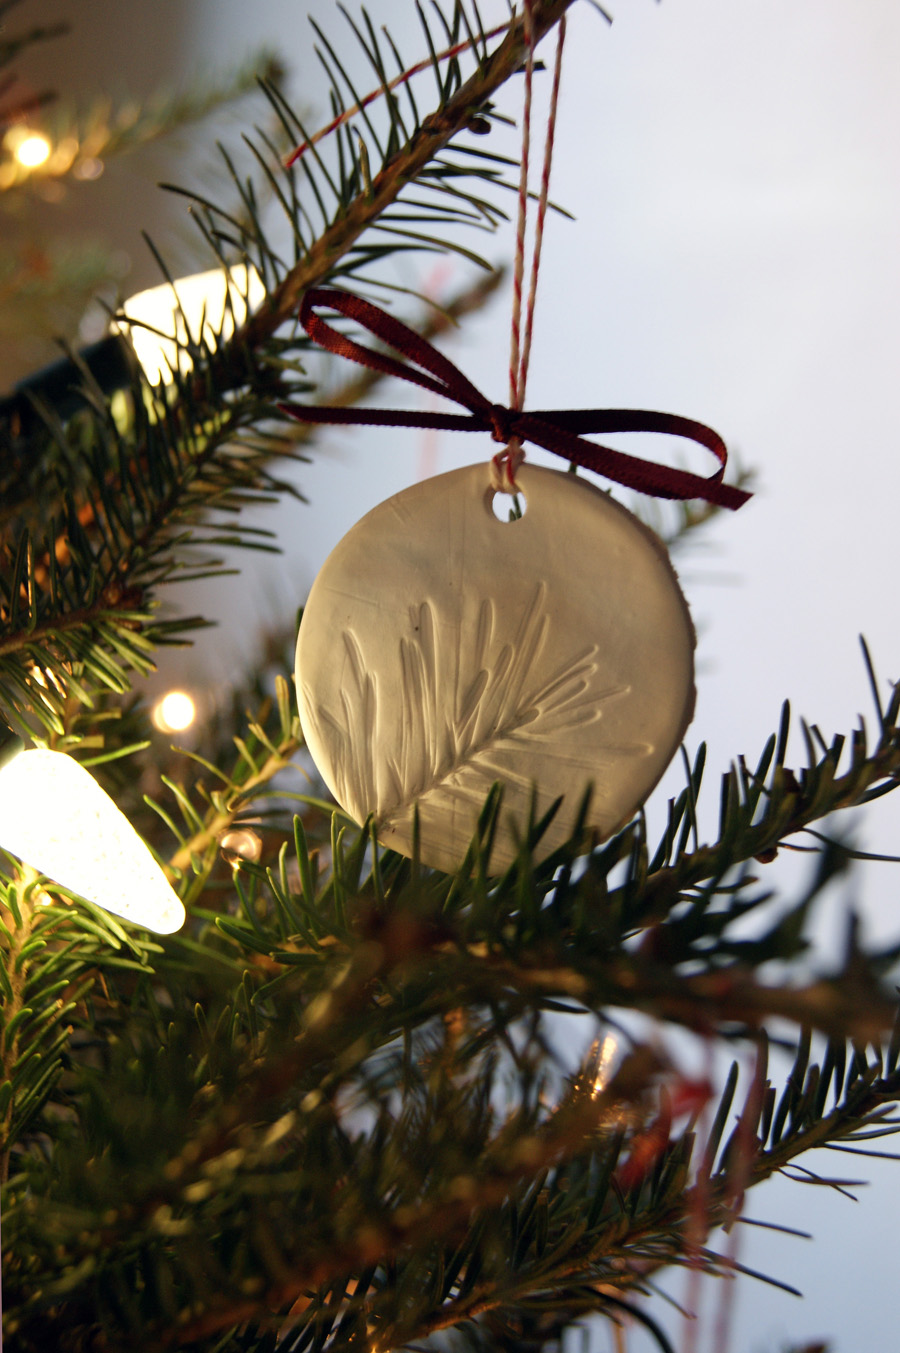
Bake Clay Ornament

Bake Clay Ornament

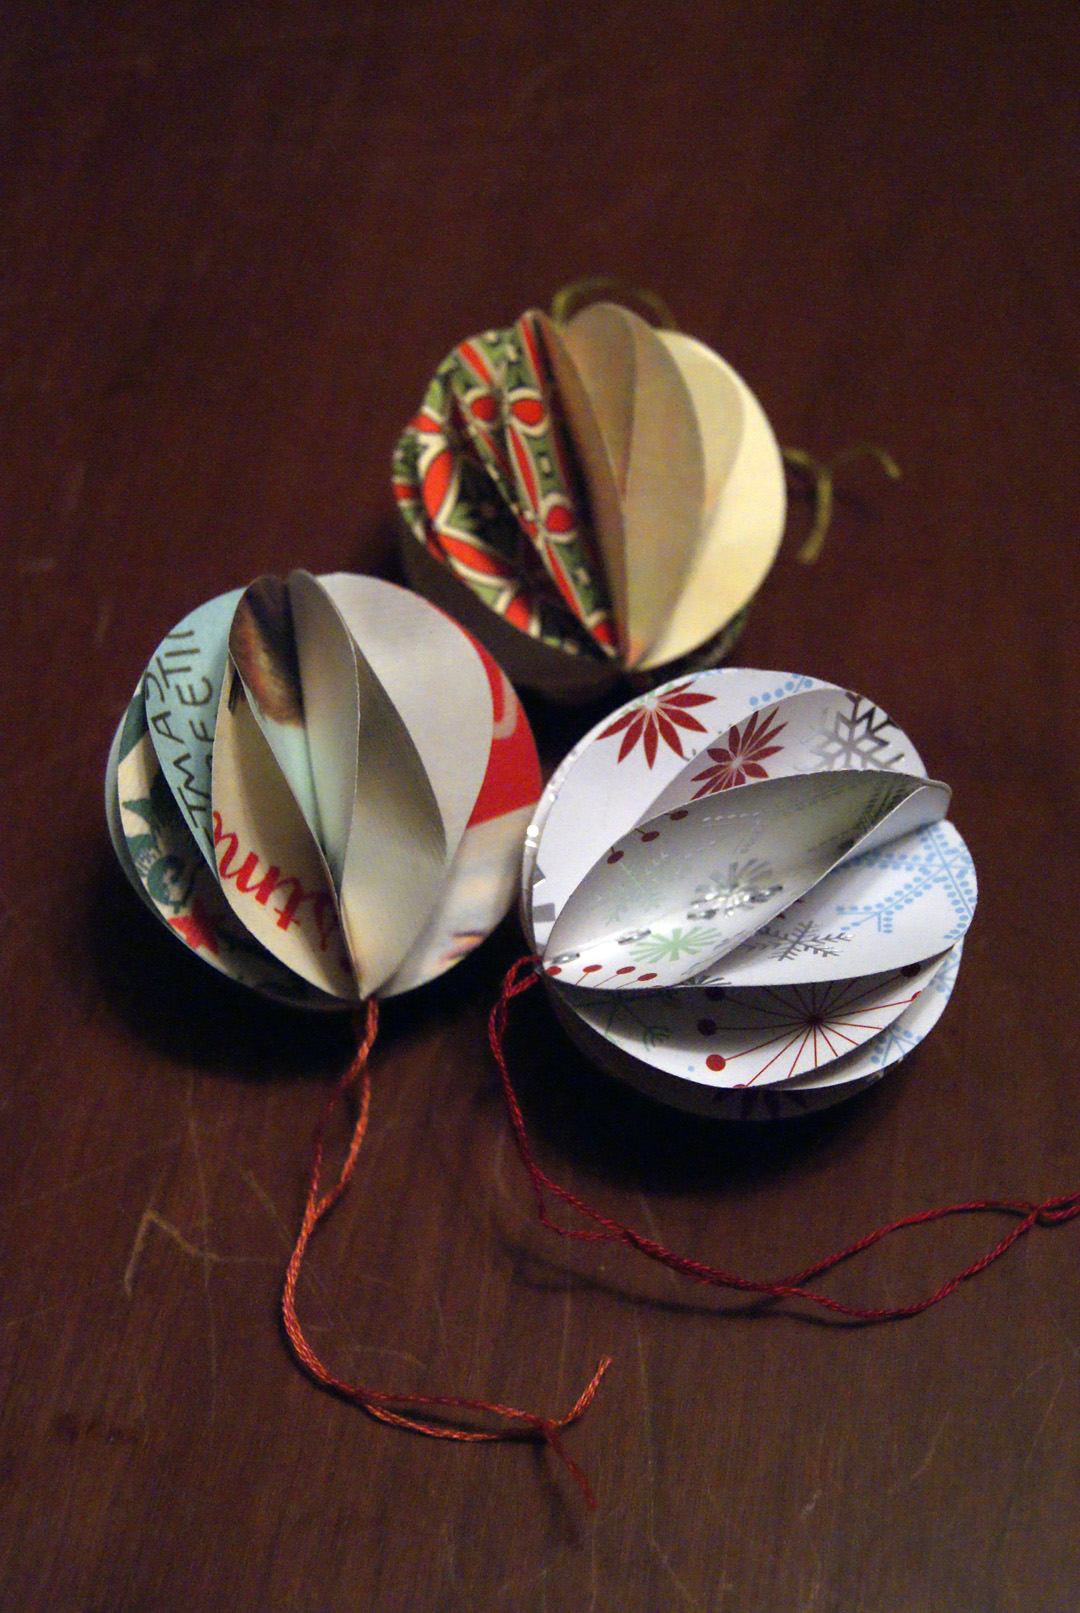
Paper Spheres Ornaments

Paper Spheres Ornaments

I did two handmade ornament projects this year.  You can find the instructions for the white Bake Clay ornaments here.  Word to the wise, buy the higher priced bake clay product.  I purchased the less expensive brand for my first attempt and it stained and looked dirty and yucky once done.  Also to insure your white clay stays nice and white, handle it only with clean hands, clean tools, and on clean surfaces, and don’t over bake!

I plan to do a How To post on the Paper Sphere ornaments in the next couple of weeks so look for that then!

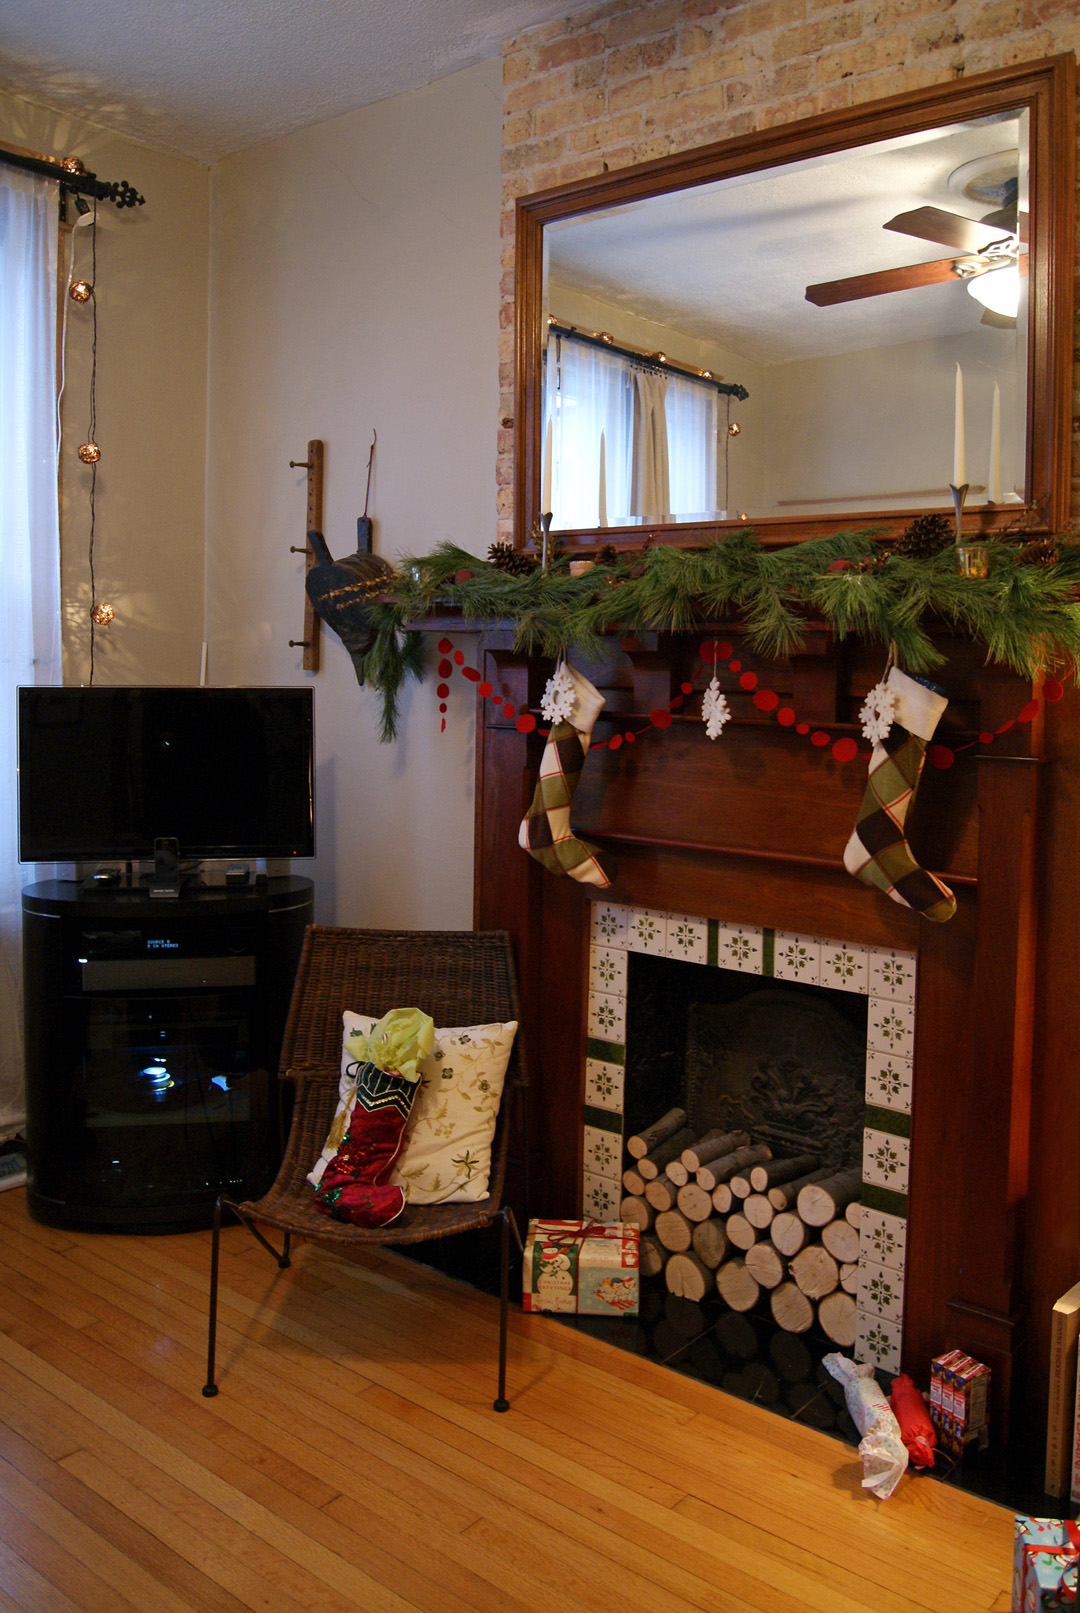
Holiday Mantle

Holiday Mantle

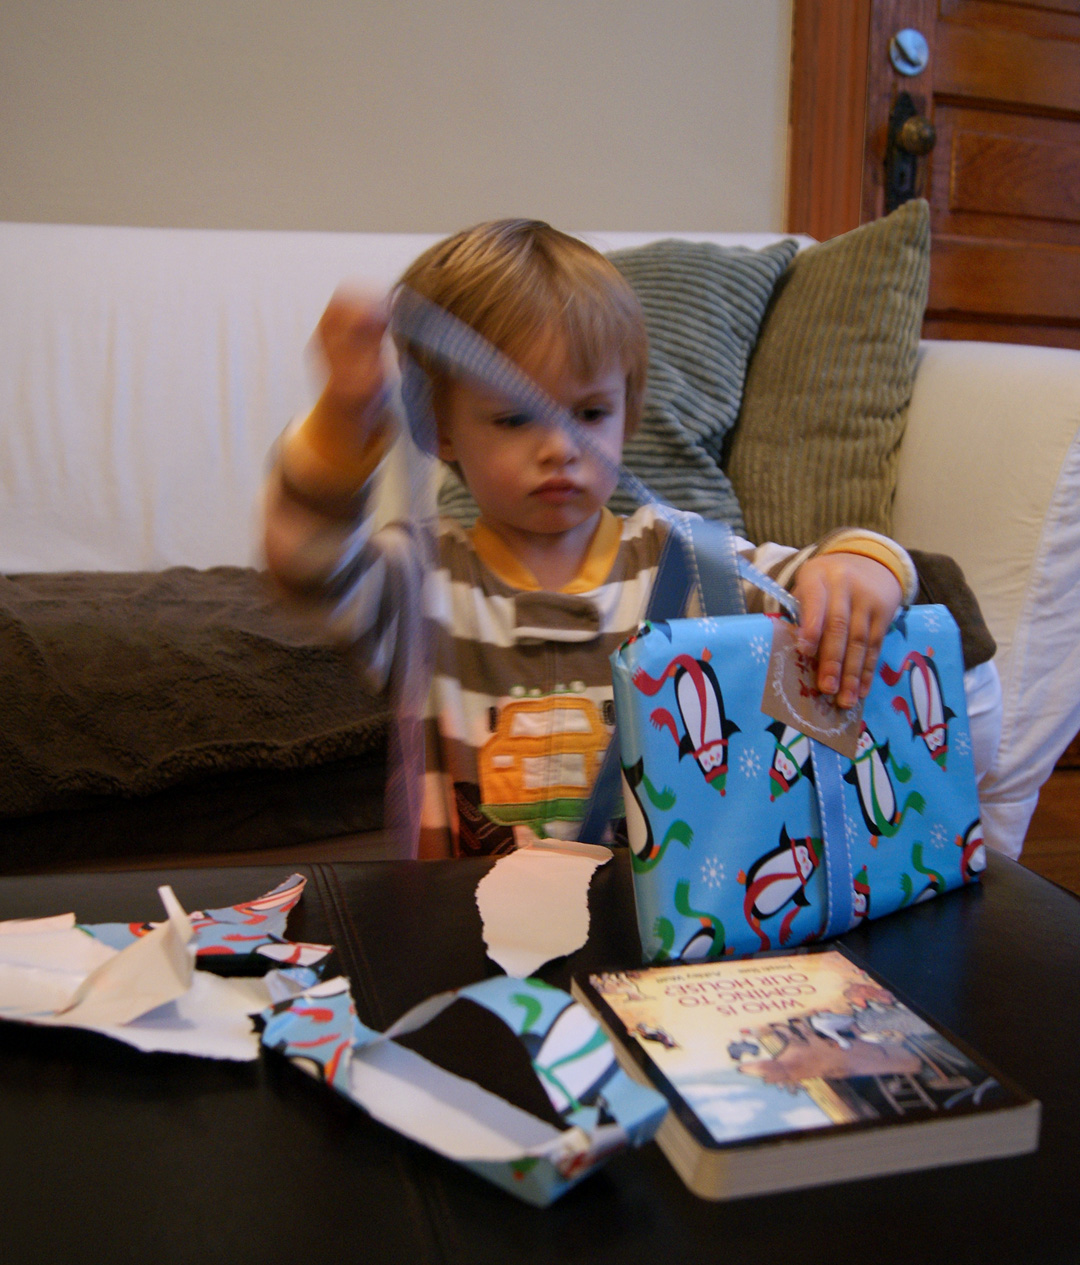
Little Bug, Christmas morning

Little Bug, Christmas morning

Zoo Lights Zoos Lights Zoos Lights
Zoo Lights, with Grandma and Grandpa

With Grandma and Grandpa

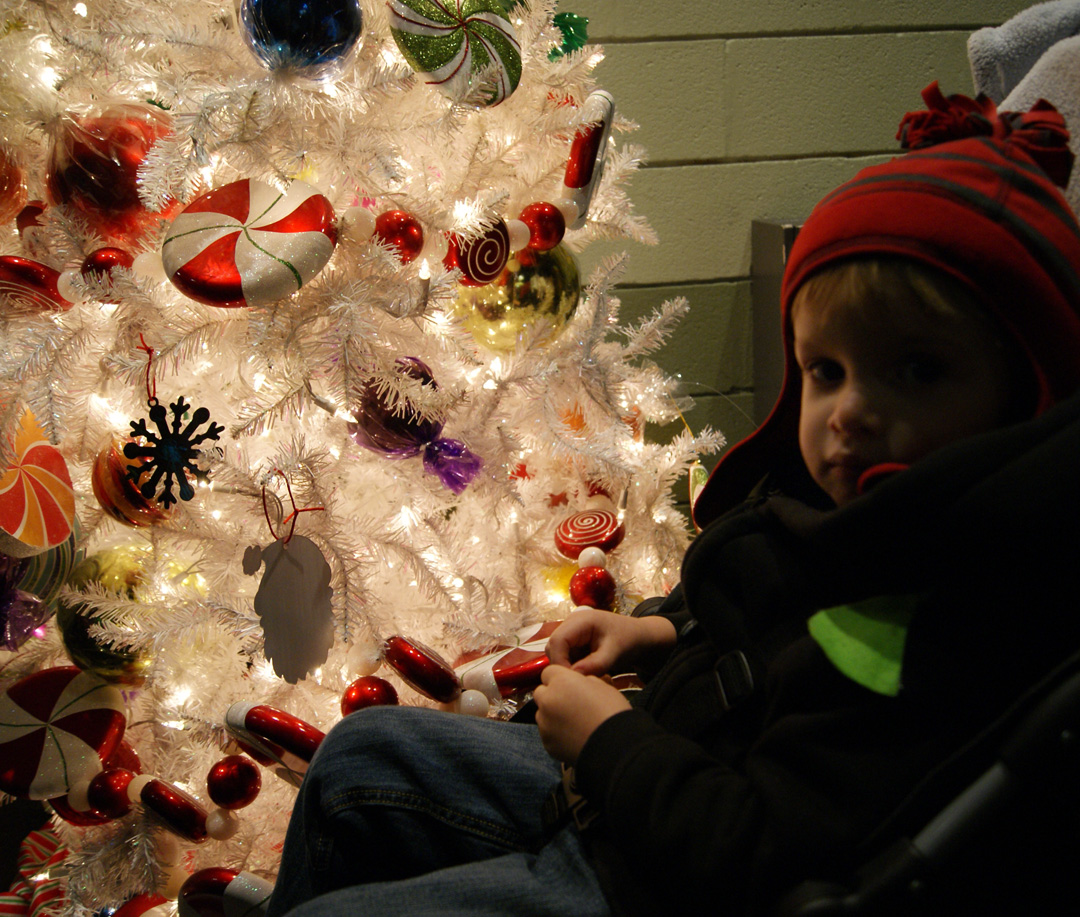
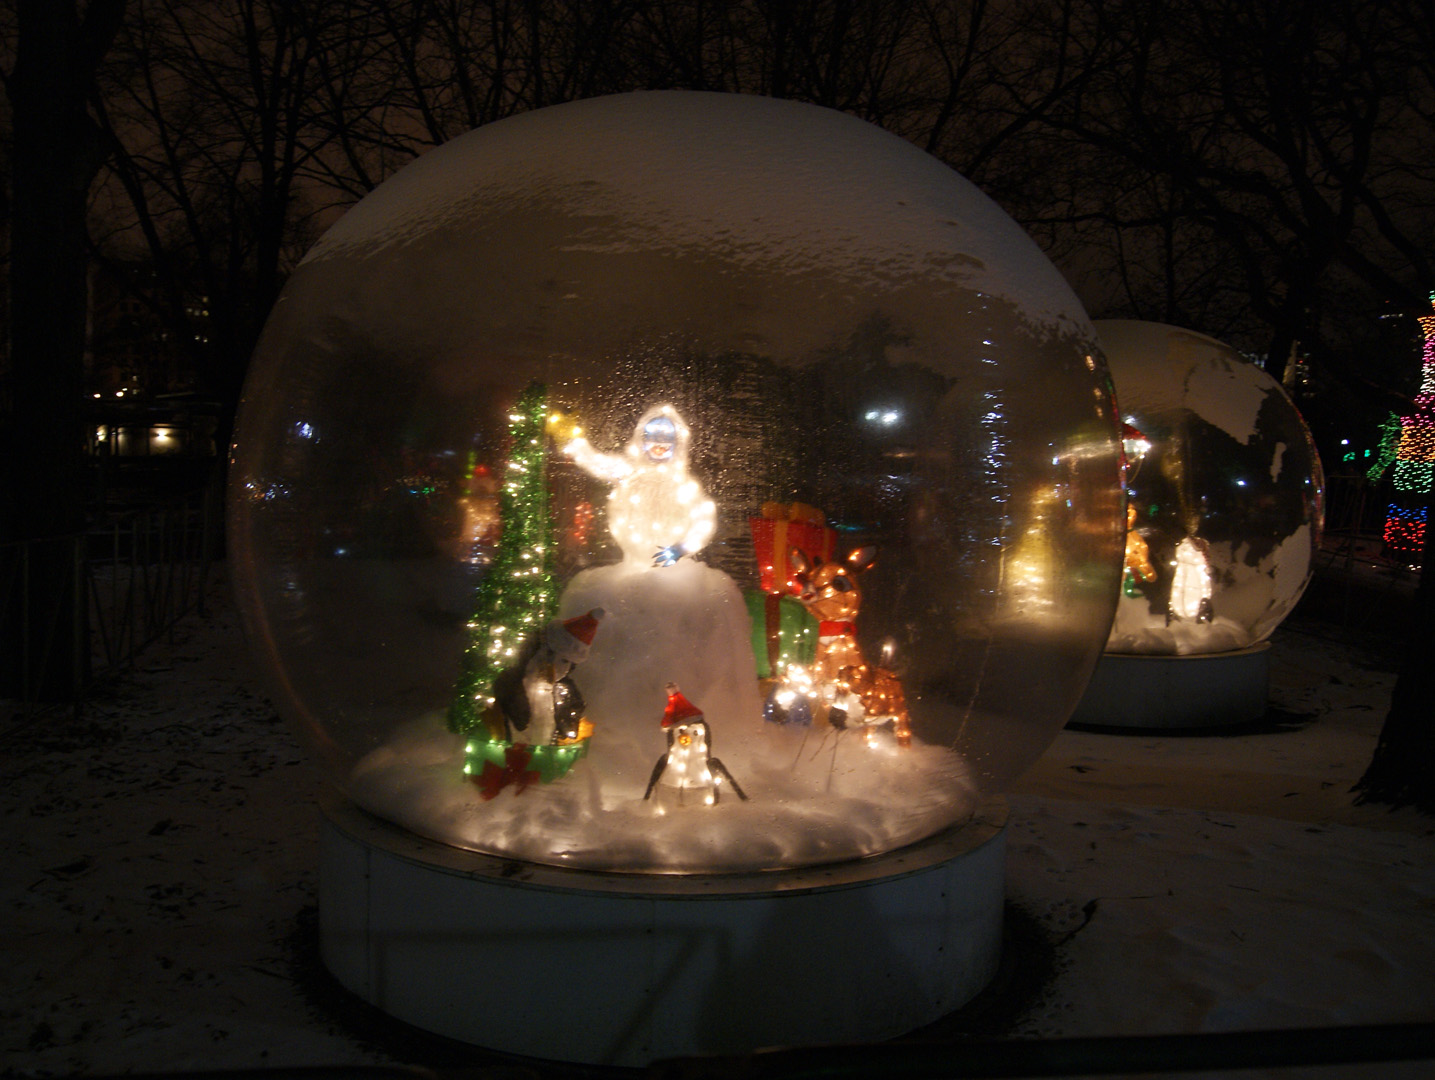
The day after Christmas we took Little Bug to Zoo Lights at the Lincoln Park Zoo.  It was so pretty, but chilly and snowy too!


A toddler bed for a Little BugJumping on the bed

New bed
Bug's "funny" face

Bug’s “funny” face

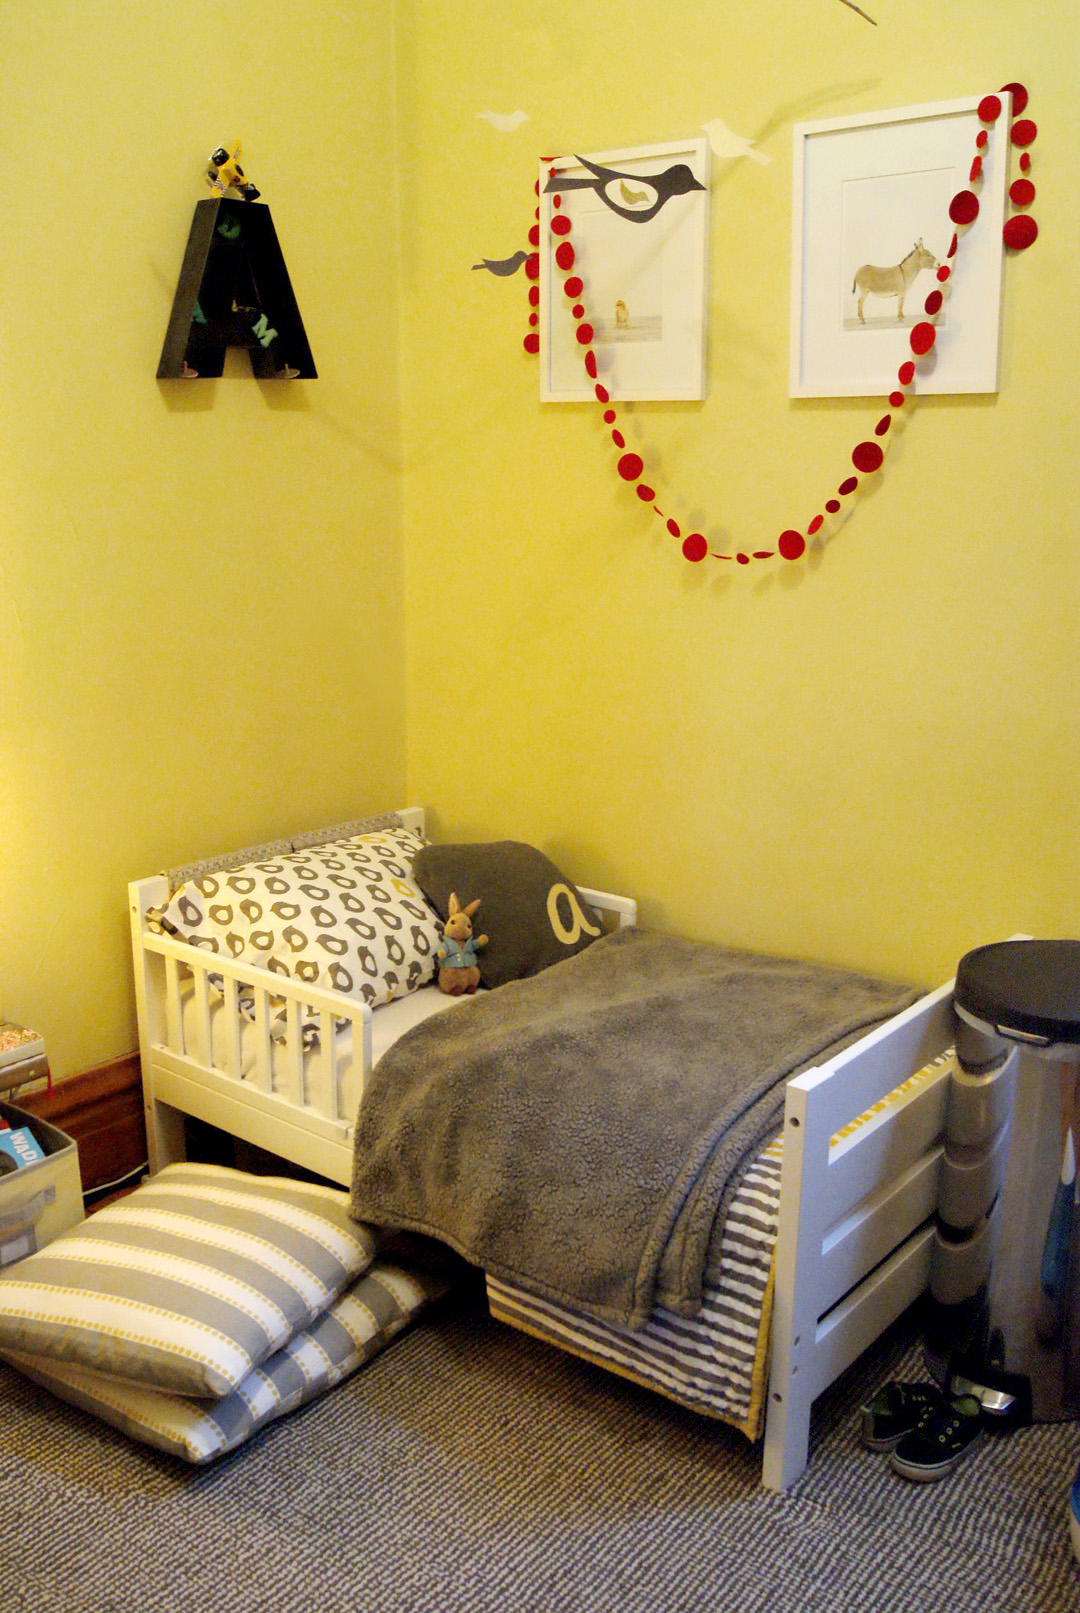
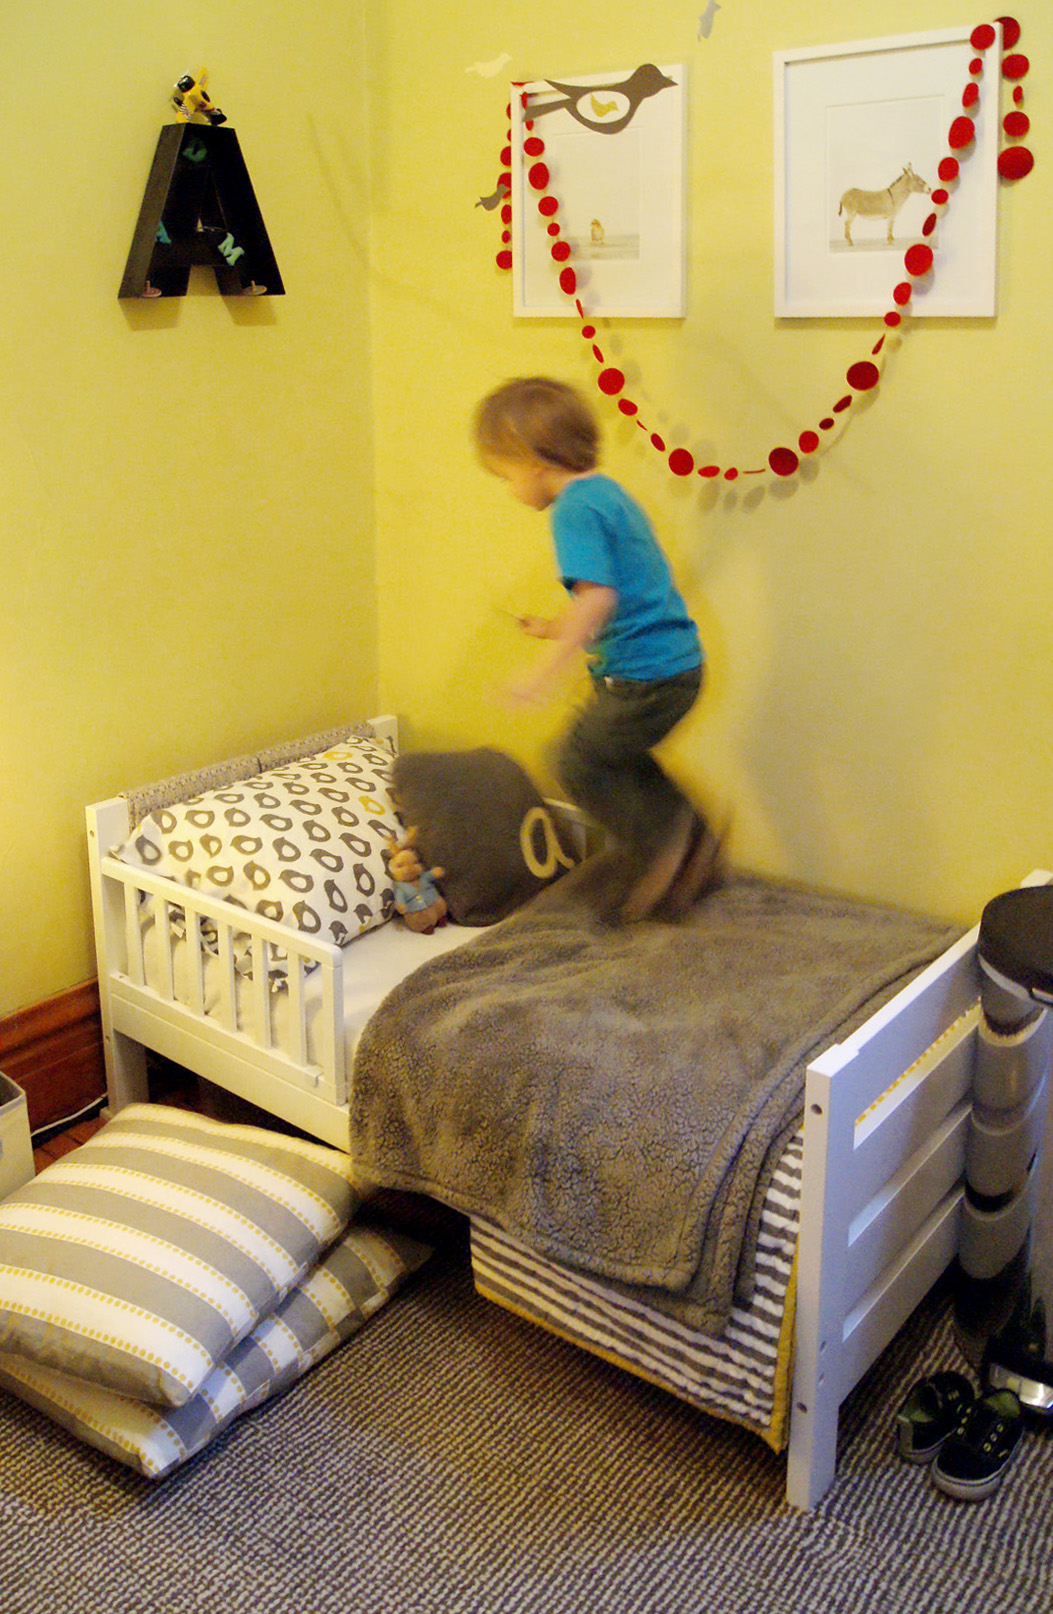
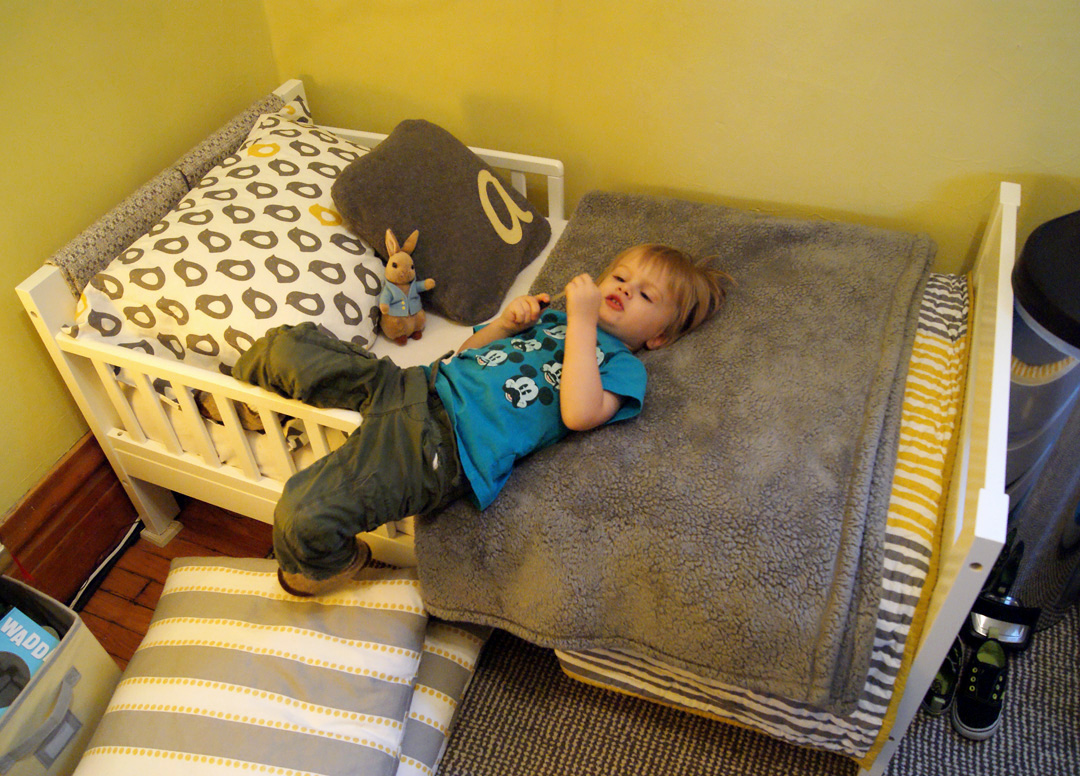
Little Bug’s big Christmas gift this year was a toddler bed.  He’s a pretty good sleeper and a great napper, so I was a bit nervous about moving him out of his crib and into a “big boy” bed.  But I’m happy to report that he has transitioned very well.  The first night he was a bit nervous about sleeping in it, but he did great.  It’s been almost a month and he has been taking good naps and has not gotten out of his bed in the night at all!  Way to go Little Bug!